
 June 8th, 2013
  leemiller
What is the UConduit?
The UConduit 3D printer is an h-bot 3D printer, with a frame built from electrical conduit (steel conduit that you can find at the hardware store). It was designed by SSD member Lee Miller and is open source hardware via the Creative Commons Share-Alike license. It is hosted on github at https://github.com/iquizzle/uconduit. All printed parts are designed using OpenSCAD (which is an open source CAD environment) so that parts can be freely compiled and modified.
Why electrical conduit?
There are many options for framing. Most higher-end 3D printers these days are using aluminum t-slotted extrusion or specialty laser cut parts. While I think these options are achieving excellent results, I wanted to build a printer that also had a solid frame, but went back to the hardware store mentality of the earlier Mendel and Prusa printers. Conduit is extremely inexpensive ($3.50/5ft) and plenty stiff for a printer. It created some extra challenges in design work, but has an additional payoff.
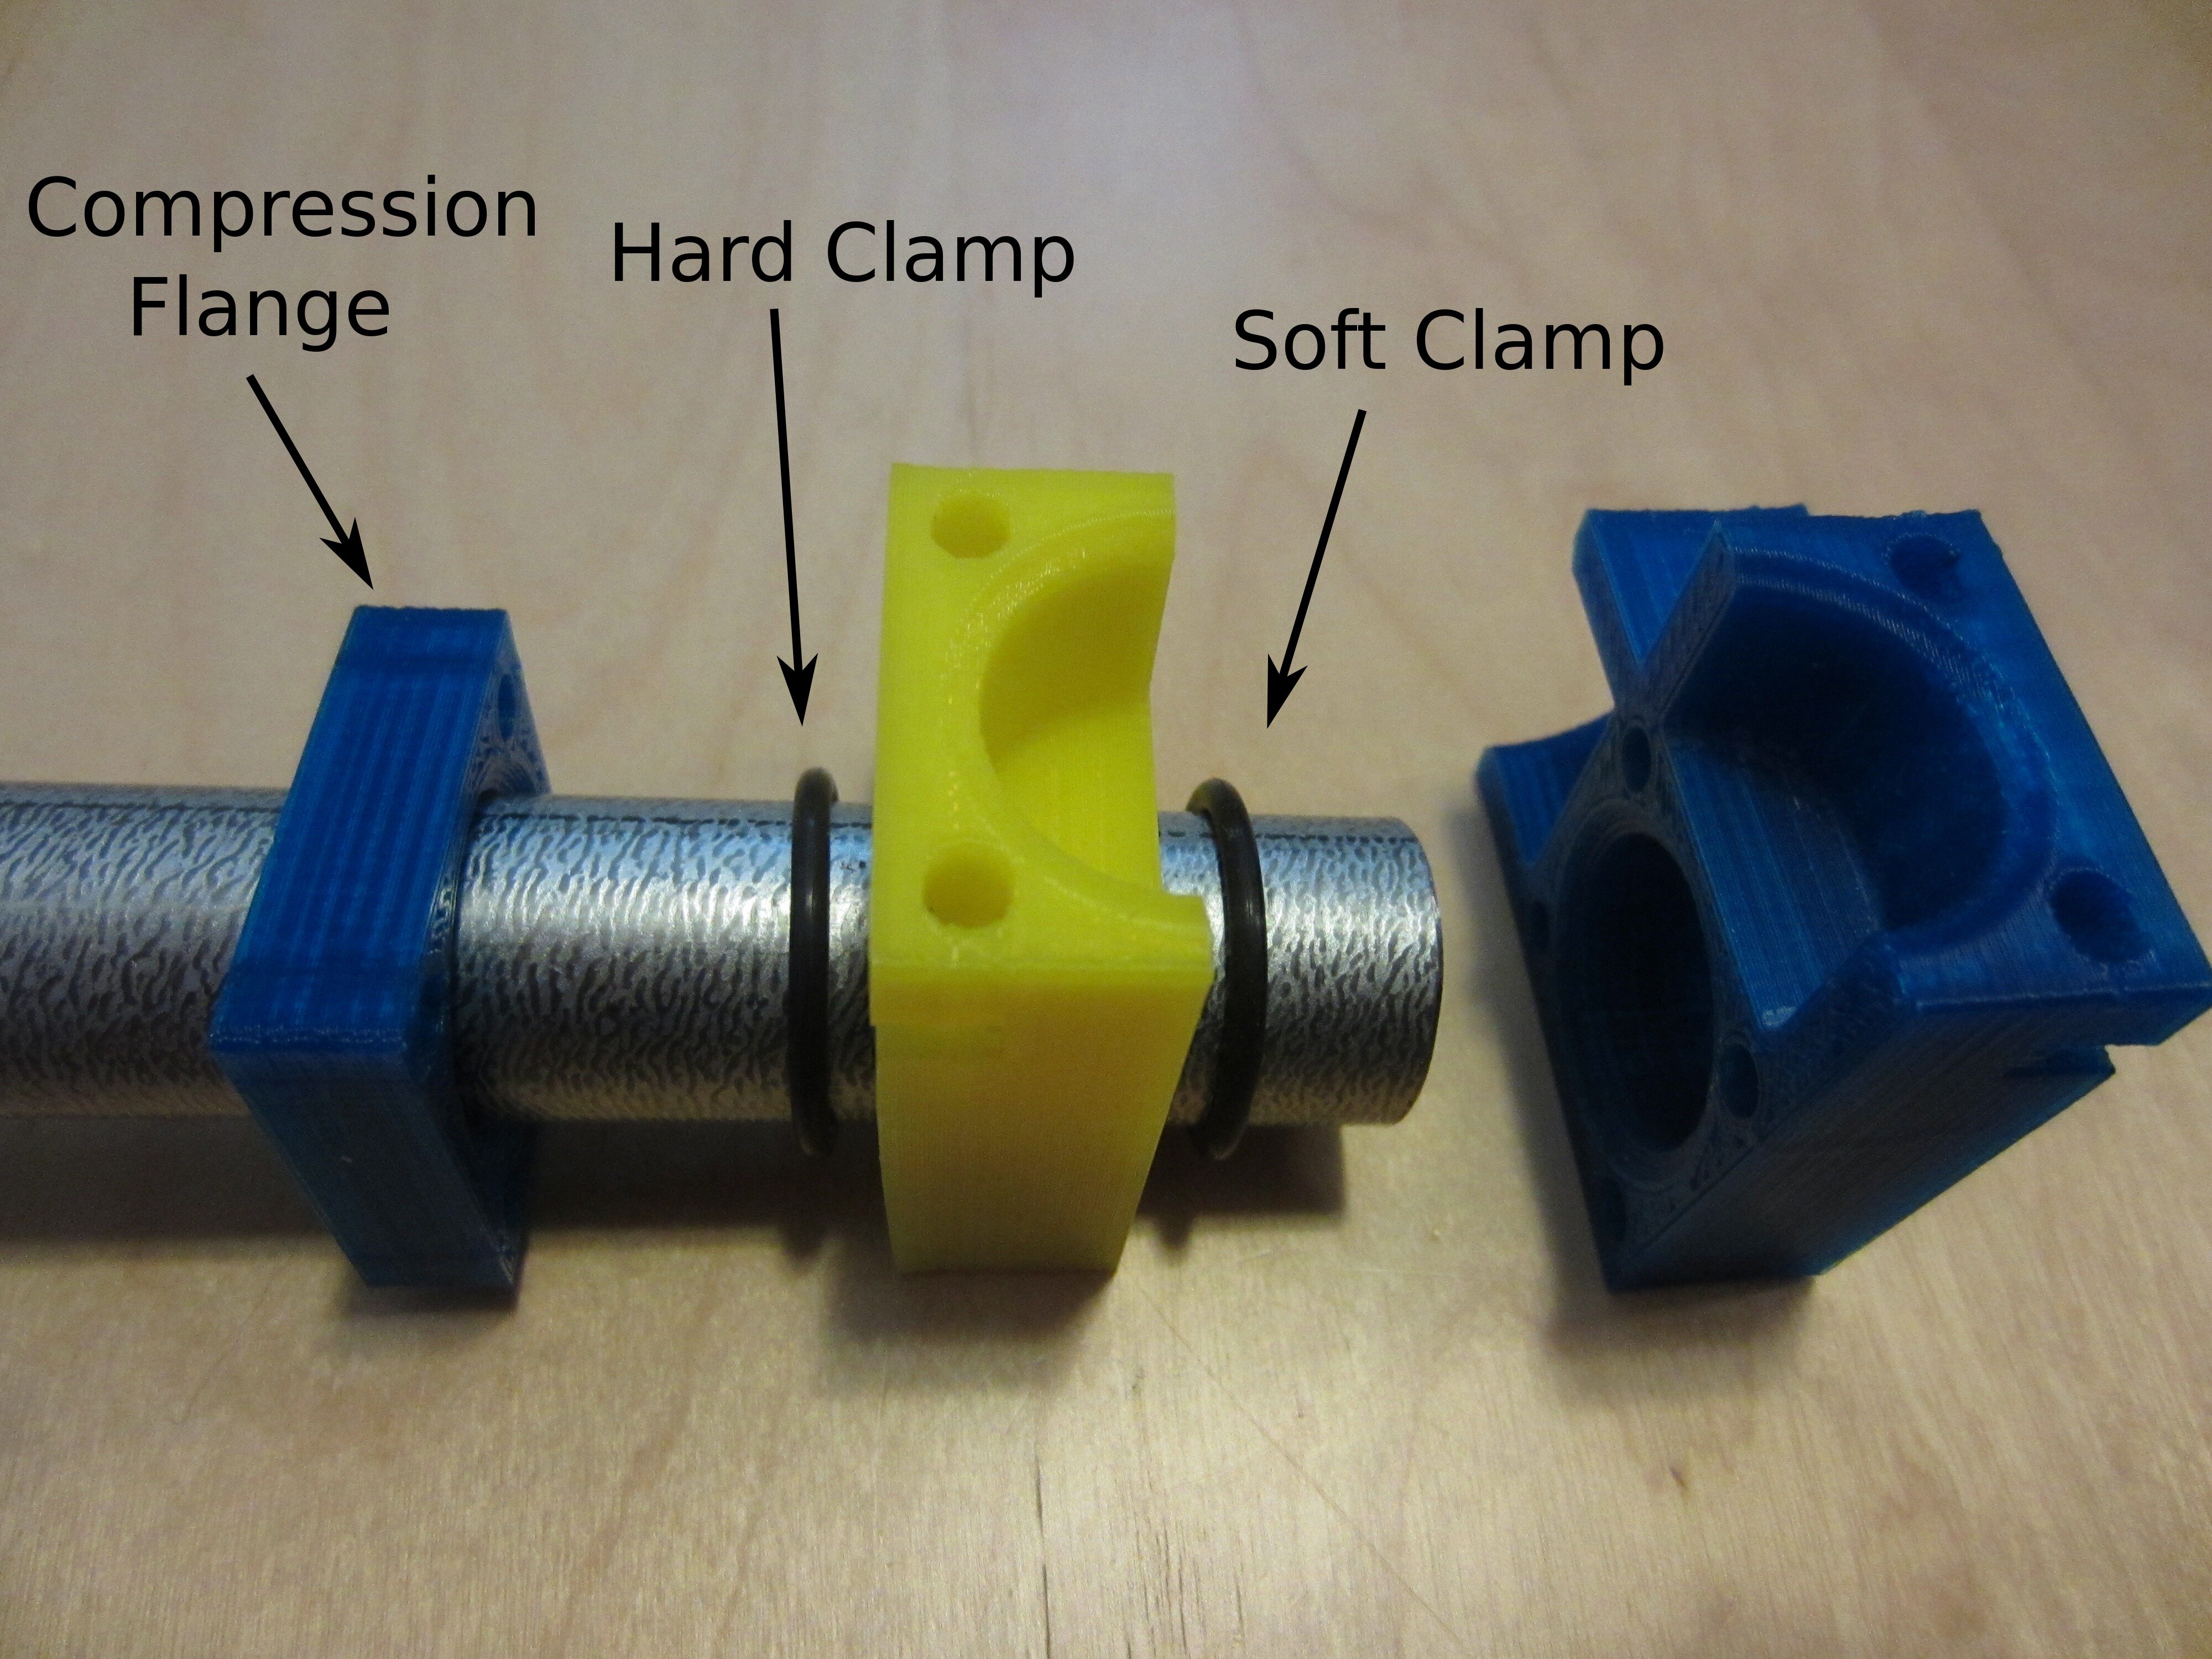
The printer is held together using o-rings and compression flanges. Each end has two rubber o-rings. There is a “hard clamp” and a “soft clamp”. The hard clamped o-ring creates a pivot point and firmly holds the conduit in place. By adding a second “soft clamped” o-ring on each end, vibrations are very effectively damped. As a result, the printer is not only fast, but also super quiet! As a physicist, I’ve used this type of connection to create vacuum-tight seals on tube furnaces, which is where I first got the idea. Additionally, wiring can be neatly routed from the top to the bottom of the printer (using the conduit for its intended purpose!).
What is an h-bot?
Think etch-a-sketch! I’ve never deconstructed an etch-a-sketch, but I’d guess that it probably works in a similar way. Two motors are connected to a single belt, which is wrapped in an H shape. If you turn one motor and hold the other fixed, the print head moves at 45-degrees. Combinations of the two motors turning the same way or in opposite directions gives movements in the x and y directions. An advantage to this geometry is that all of the motors in the UConduit remain fixed. Because motors are the heaviest objects in a printer, the inertial forces are significantly reduced by keeping them stationary. I worked with SSD member Free Beachler to modify the popular open source 3D printer firmware “marlin” in order to accommodate the h-bot geometry. I’m very pleased with the results so far, but 3D printing is very competitive in the maker world right now, so you be the judge!
Here is a youtube video of it in action:
 Posted in
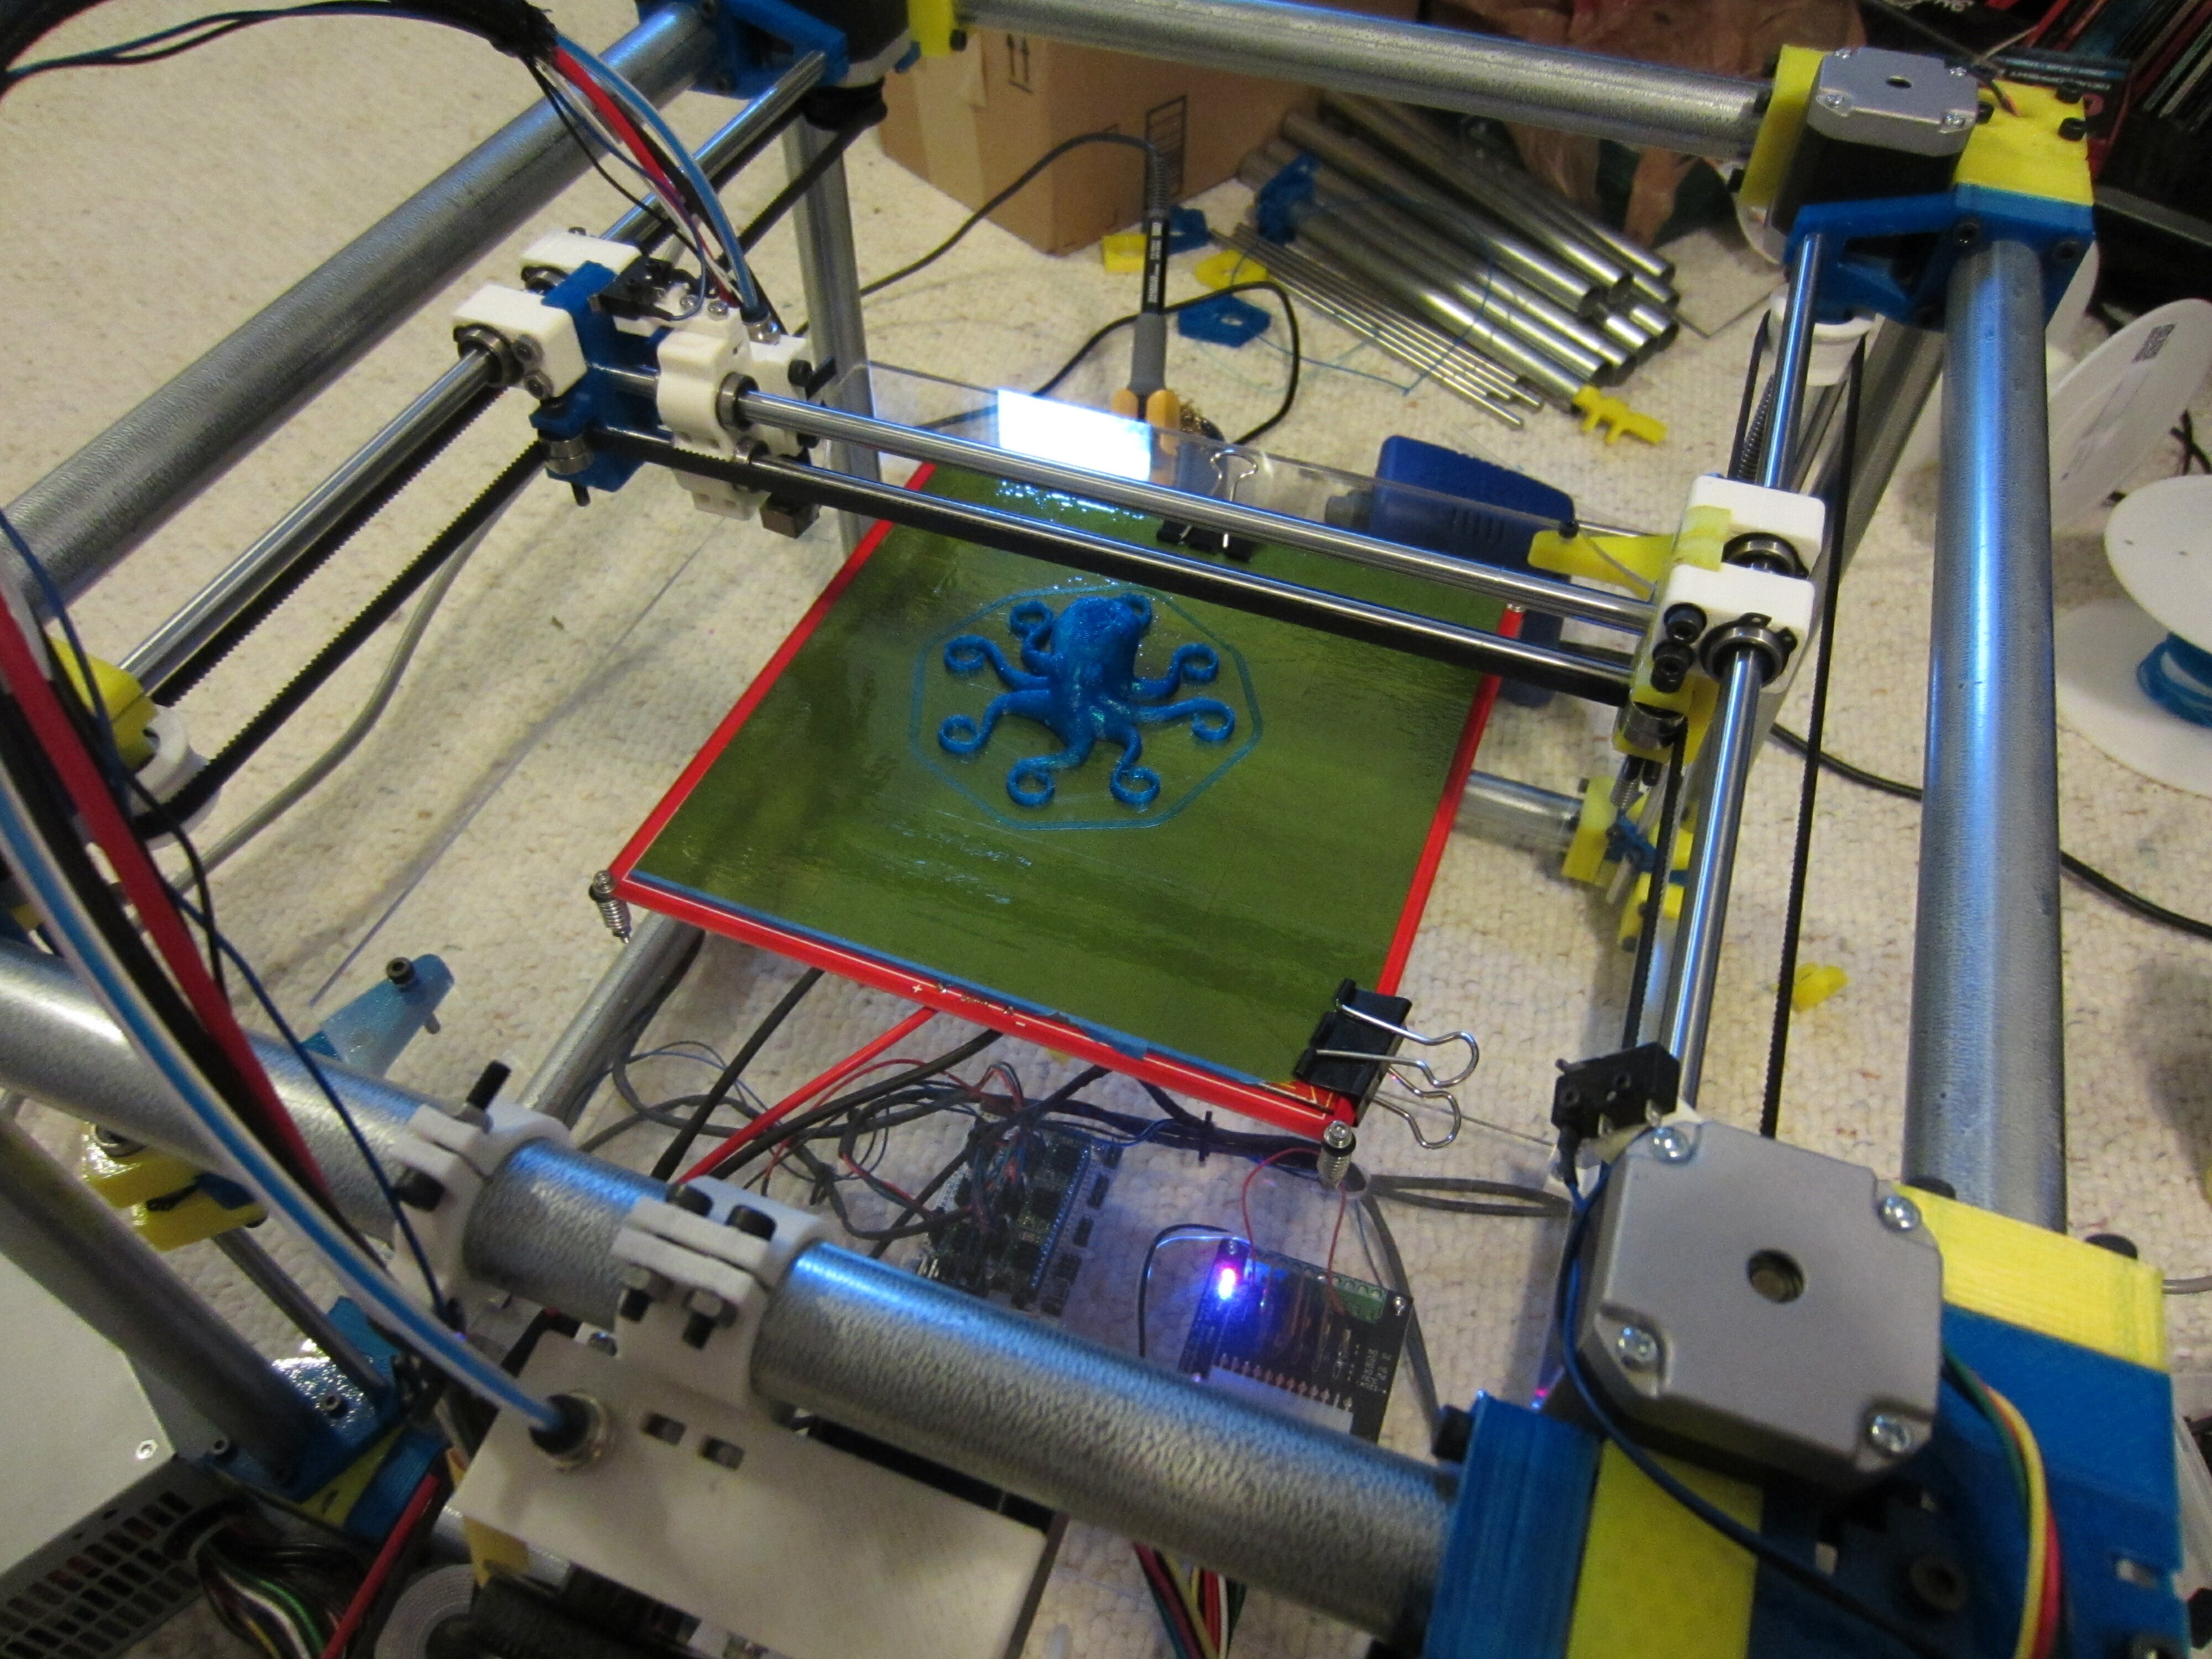
[…] cost a bundle. This hack fits both of those criteria. [Lee Miller] came up with a way to use steel electrical conduit as a 3D printer frame. He recently finished building the device seen above, and has been showing it off at Solid State […]
[…] cost a bundle. This hack fits both of those criteria. [Lee Miller] came up with a way to use steel electrical conduit as a 3D printer frame. He recently finished building the device seen above, and has been showing it off at Solid State […]
[…] cost a bundle. This hack fits both of those criteria. [Lee Miller] came up with a way to use steel electrical conduit as a 3D printer frame. He recently finished building the device seen above, and has been showing it off at Solid State […]
Can you post a build guide and a parts/cost list?
I’d love to build one and this seems like a great place for me to start in the world of 3d printing.
Thanks! Great Work!
Thanks for your interest! There already is a ‘beta’ bill of materials on the github site. Download the file “UCON_BOM.pdf” from there. In the near future, I would like to put together a build guide as well.
I to am interested. I would be willing to generate the build guide especially if I had Mr Miller looking over my shoulder. If not I’m still willing for give it a try.
Cool! I’m happy to help. I won’t *actually* be able to look over your shoulder unless you live in Boulder, but I’d be happy to answer questions.
I have a google group for h-bot and corexy printers ready to go. Perhaps we can work on this together on a forum where other people can follow along.
[…] cost a bundle. This hack fits both of those criteria. [Lee Miller] came up with a way to use steel electrical conduit as a 3D printer frame. He recently finished building the device seen above, and has been showing it off at Solid State […]
What a great design! Minimalistic moving parts, ridig frame, vibration damping, neat wiring and cheap materials. Nice 🙂
[…] cost a bundle. This hack fits both of those criteria. [Lee Miller] came up with a way to use steel electrical conduit as a 3D printer frame. He recently finished building the device seen above, and has been showing it off at Solid State […]
Do you have any numbers for positional accuracy? I’d thunk that combining both axes into a single drive system would give reduced accuracy. (Certainly elegant not having to carry the mass of one of the motors on one of the axes though!)
[…] boulderhackerspace.comより 手作り感はありますが、やりますね。 ホームセンターで売っているスチールパイプを、3Dプリンターのフレームに使っています。 コーナーを見ると分かりますが、留め具も3Dプリンターで作ったパーツです。 3つのパーツで出来ていて、それぞれネジ止め。パーツ間にはラバー製のOリングを仕込み、固定と耐震性を狙っています。 製作者のLee Millerさんは、設計図を(Creative Commons Share-Alike license)にて、githubにアップしています。 https://github.com/iquizzle/uconduit […]
Hi,
I like your use of conduit. I’m making a printer that prints houses out of conduit. You can see our progress at the webpage above and at
One of my goals is to make a self replicating factory. I’m probably going to get a Kikori CNC machine. It’s a plywood based CNC machine. I’ll also want a 3D printer and a CNC tube cutter (to cut conduit).
If you want to collaborate on anything, let me know. 🙂
-Brian
Cool project Brian! Thanks for sharing.
Some of us at the hackerspace are interested in building a large format CNC router as well. We haven’t reached any decisions yet, but I think we’d like to make the frame from aluminum or steel.