Howdy Hackers!
Due to high rental costs in Boulder, my roommate and I decided to rent out the living room! It’s a pretty sweet living room, has it’s own separate entrance and a balcony. It made sense to us because the kitchen is the size of the living room with a balcony and entrance as well so we decided to efficiently use the area as a communal space/kitchen.We met an amazing couple and before moving in we all decided building a door to make the living room separate would be a fun project.
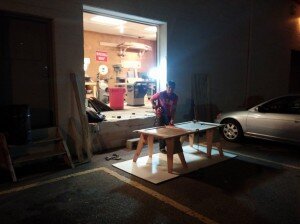
Thanks to the amazing Woodshop available to SSD members, this project came to life!
Behold the end result. An 80 pound door made out of beetle kill pine.
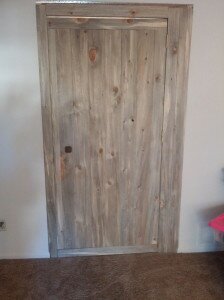
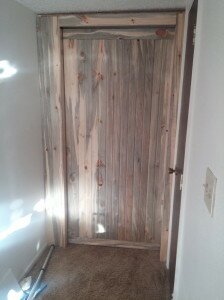
We got all the wood at Home Depot for under $100 dollars. We figured if we’re going to have a door let’s go all out and make it legit and awesome, you know, something we could all be proud of- not some pre-made manufactured door.

Home depot had these slatted boards that slide into each other, that made life a lot easier! But we still needed top and bottom trim and an internal support system.
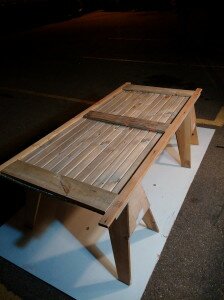
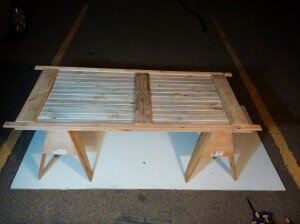
The internal support system turned out to be the most important aspect of the door and took a lot of measuring and planning. The slatted boards have a tendency to float away from each other so the width of the door kept expanding. Once we pushed them as tight together as possible we were able to get the correct measurements for the support system and tack the front and back panels together accordingly. We found some pallets and used the wood from that.
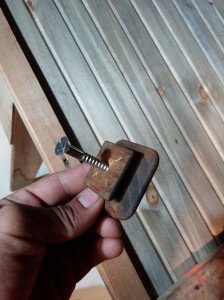
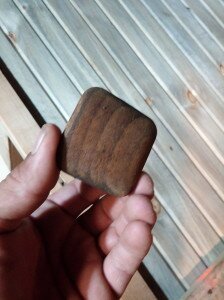
This is a solid knob that we got from Resource for 10cents!
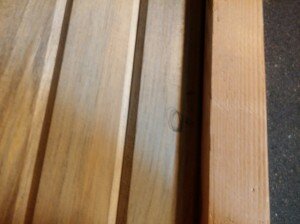
The circle is for where the knob was going to go. The middle support goes on top of that so the screw doesn’t go too far out the front of the door.
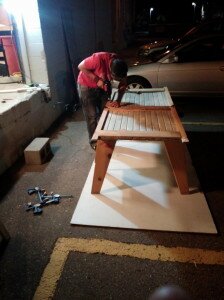
The screw had to go through the middle support board and through the front panels. It turned out that the knob when screwed on as tight as possible was perfect! Meant to be I suppose=)
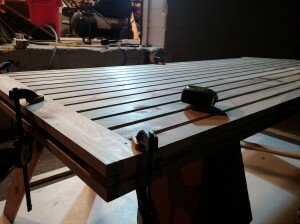
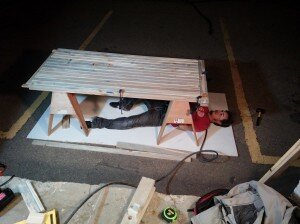
After securing the knob The back panels were ready to go on. I used a pneumatic finishing nail gun (rented from home depot across the street) to secure the front and back panels to the internal support system. The reason we used finishing nails instead of Screws, bolts, or hammerable nails is simply because of aesthetics. Now from a few feet away it looks like the door is held together by magic;)
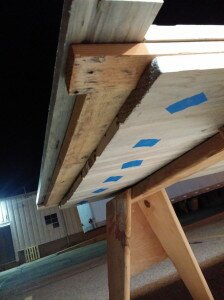

The top trim needed some support so I cheated the top and bottom support upward until it was halfway on the panels and halfway through the top trim. As you can see the top trim comes out a little bit, that was so I could put flat boards on the front. This way looks cleaner and the internal support system doesn’t show.
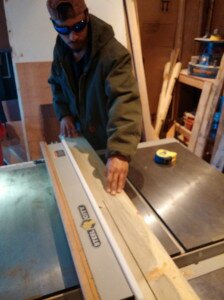
Just cutting the front trim as before mentioned.
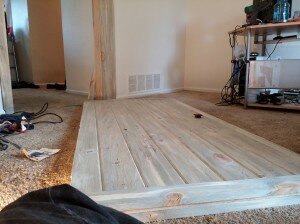
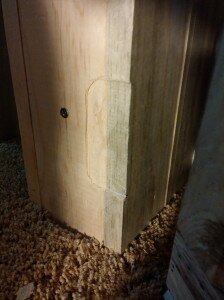
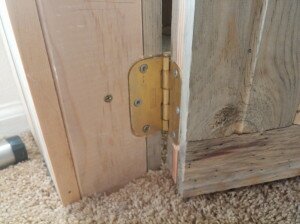
This part is incredibly important to get right or the entire project goes under. If the door drags along the carpet it could break the hinges so it’s important to line up where the hinges go correctly. To do this we put a scrap piece of board the same width as one of this boards (~3/4″) underneath the door and lined it up with the cut I made against the wall to use as reference. My roommate had a Dremel Multi-max oscillating tool which had a wood trim attachment, it is meant for precision cuts and that’s what I used, a router probably would have been good too.
The screws that came with the hinges were not even an inch long so we used 3″ long self tapping screws we got from McGuckins(cost like 4 bucks for 50 of them) We screwed those bad boys in and BAM! Door.


Happy Hacking!
Cheers,
Bryant


 October 22nd, 2014
  bryanthadley
 Posted in