Denver Mini Maker Faire 2016 recap in pictures

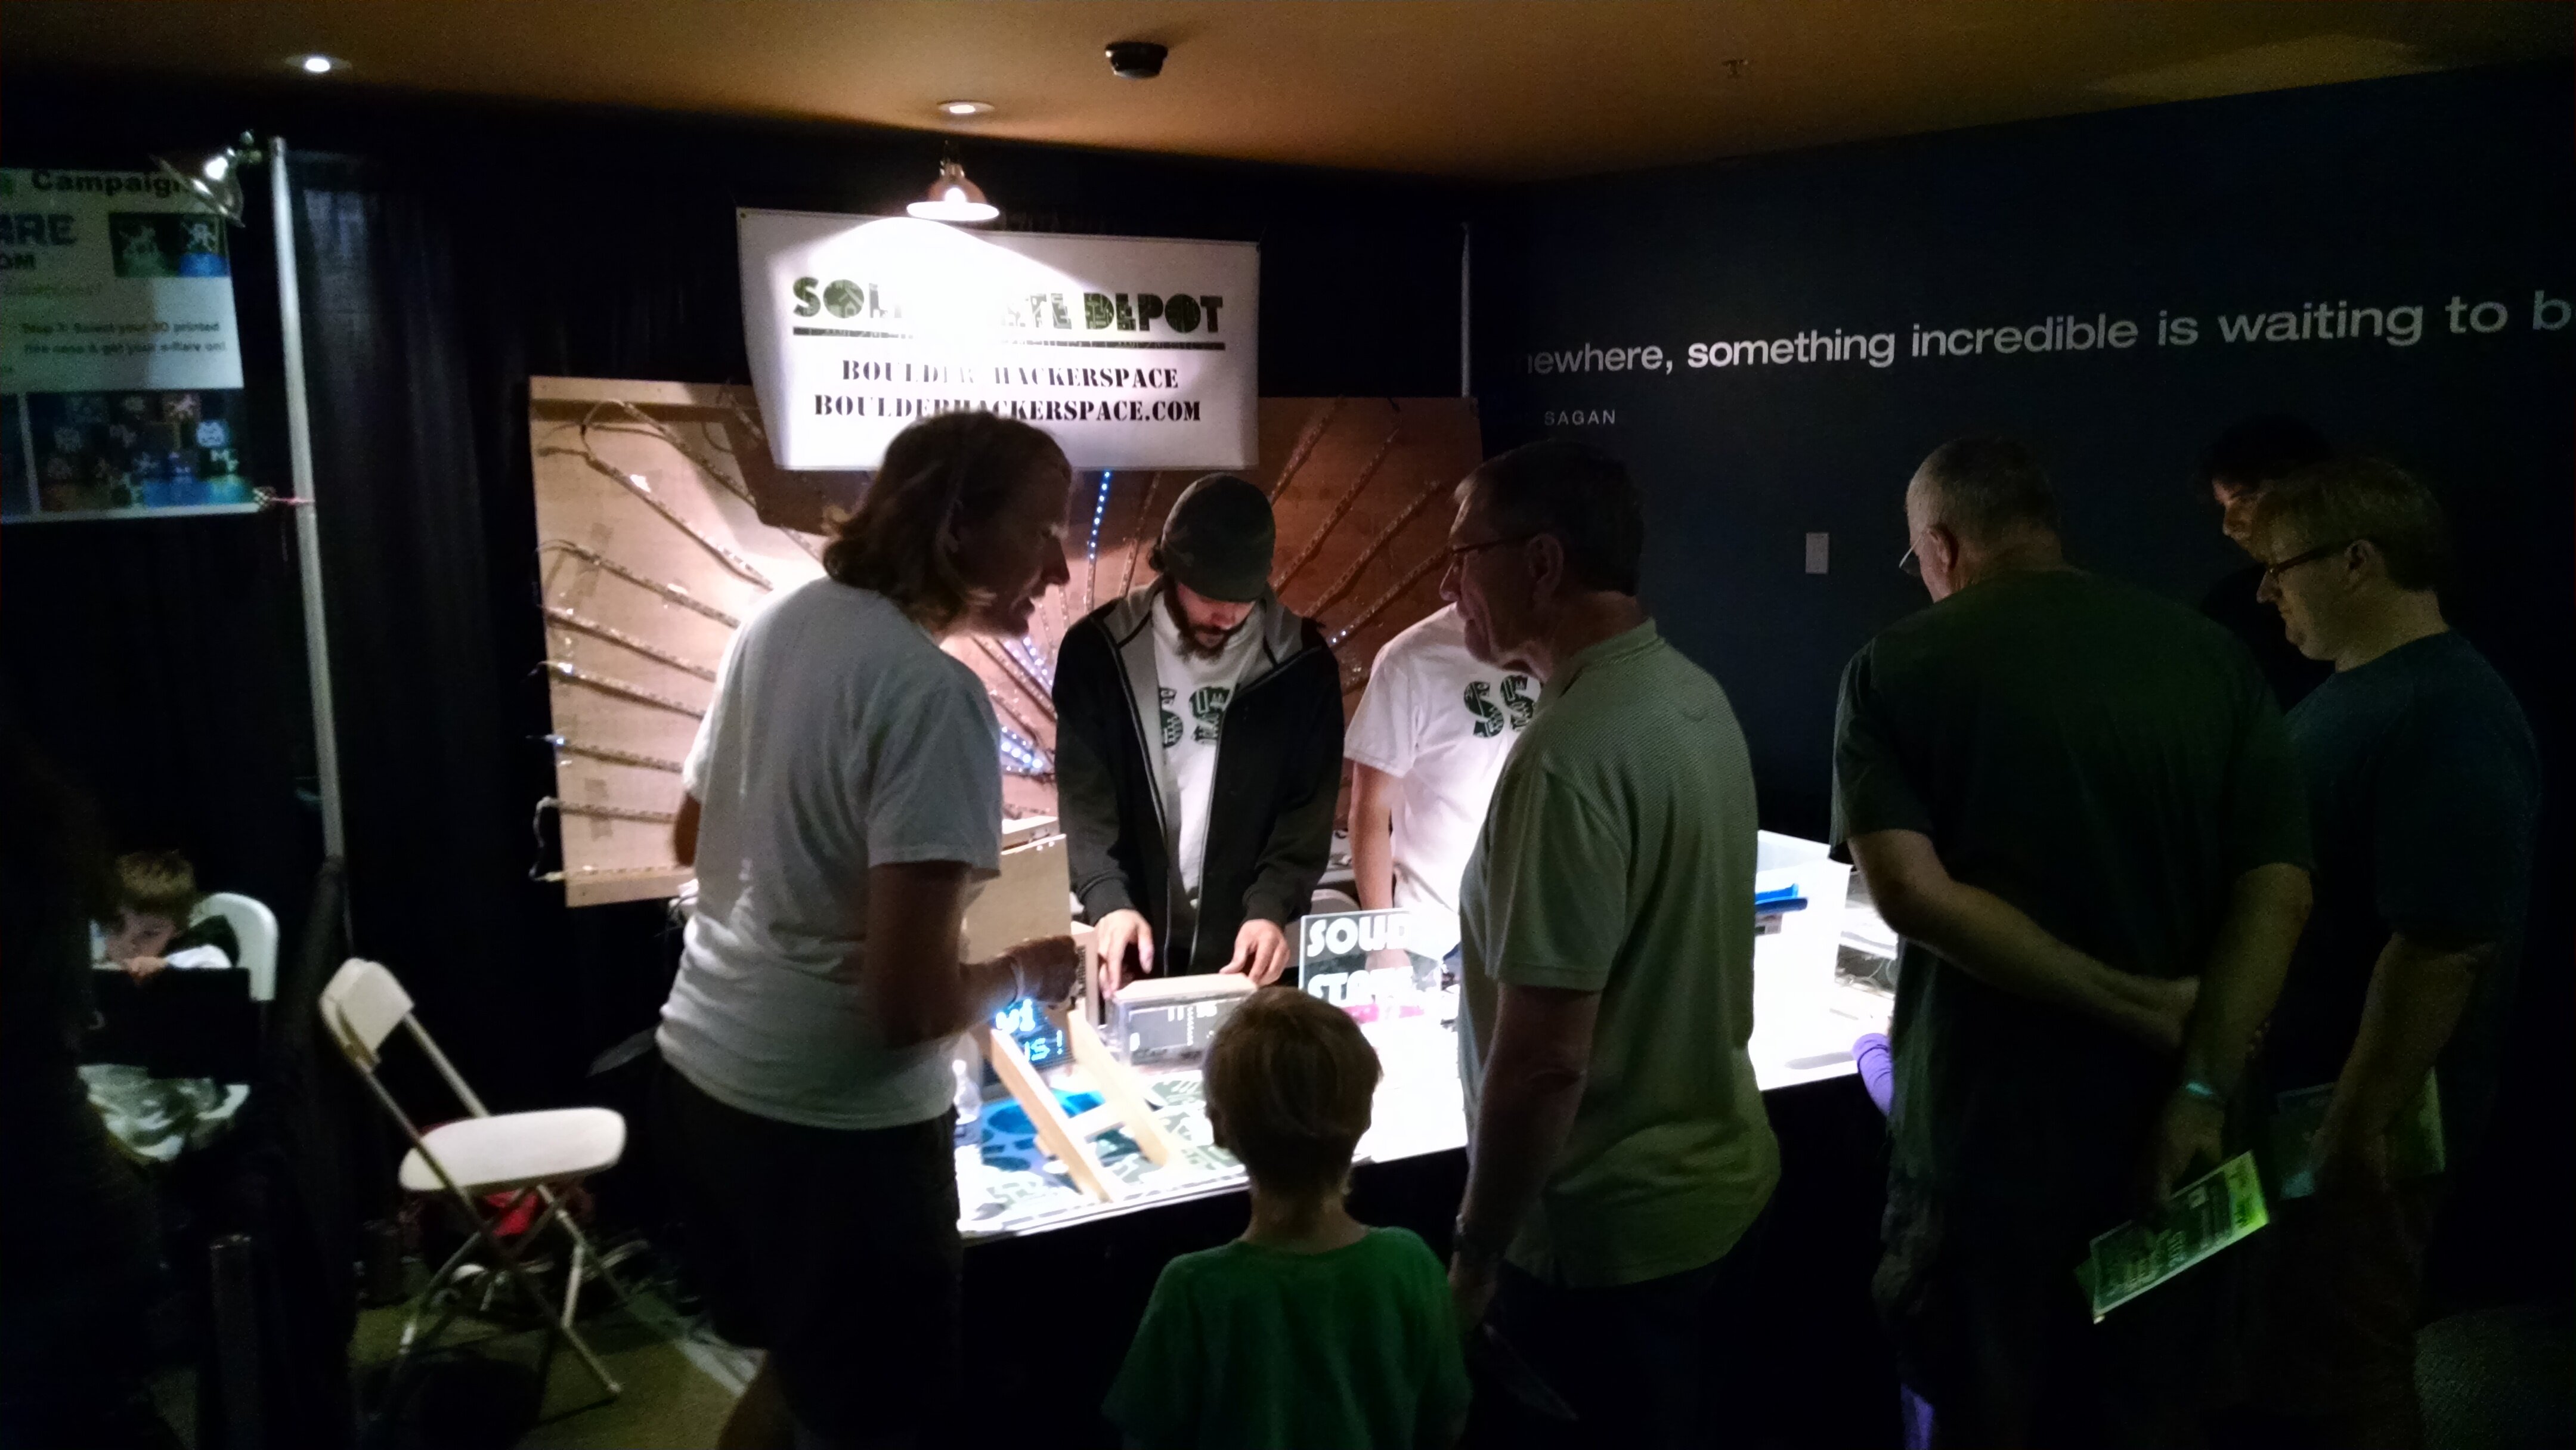
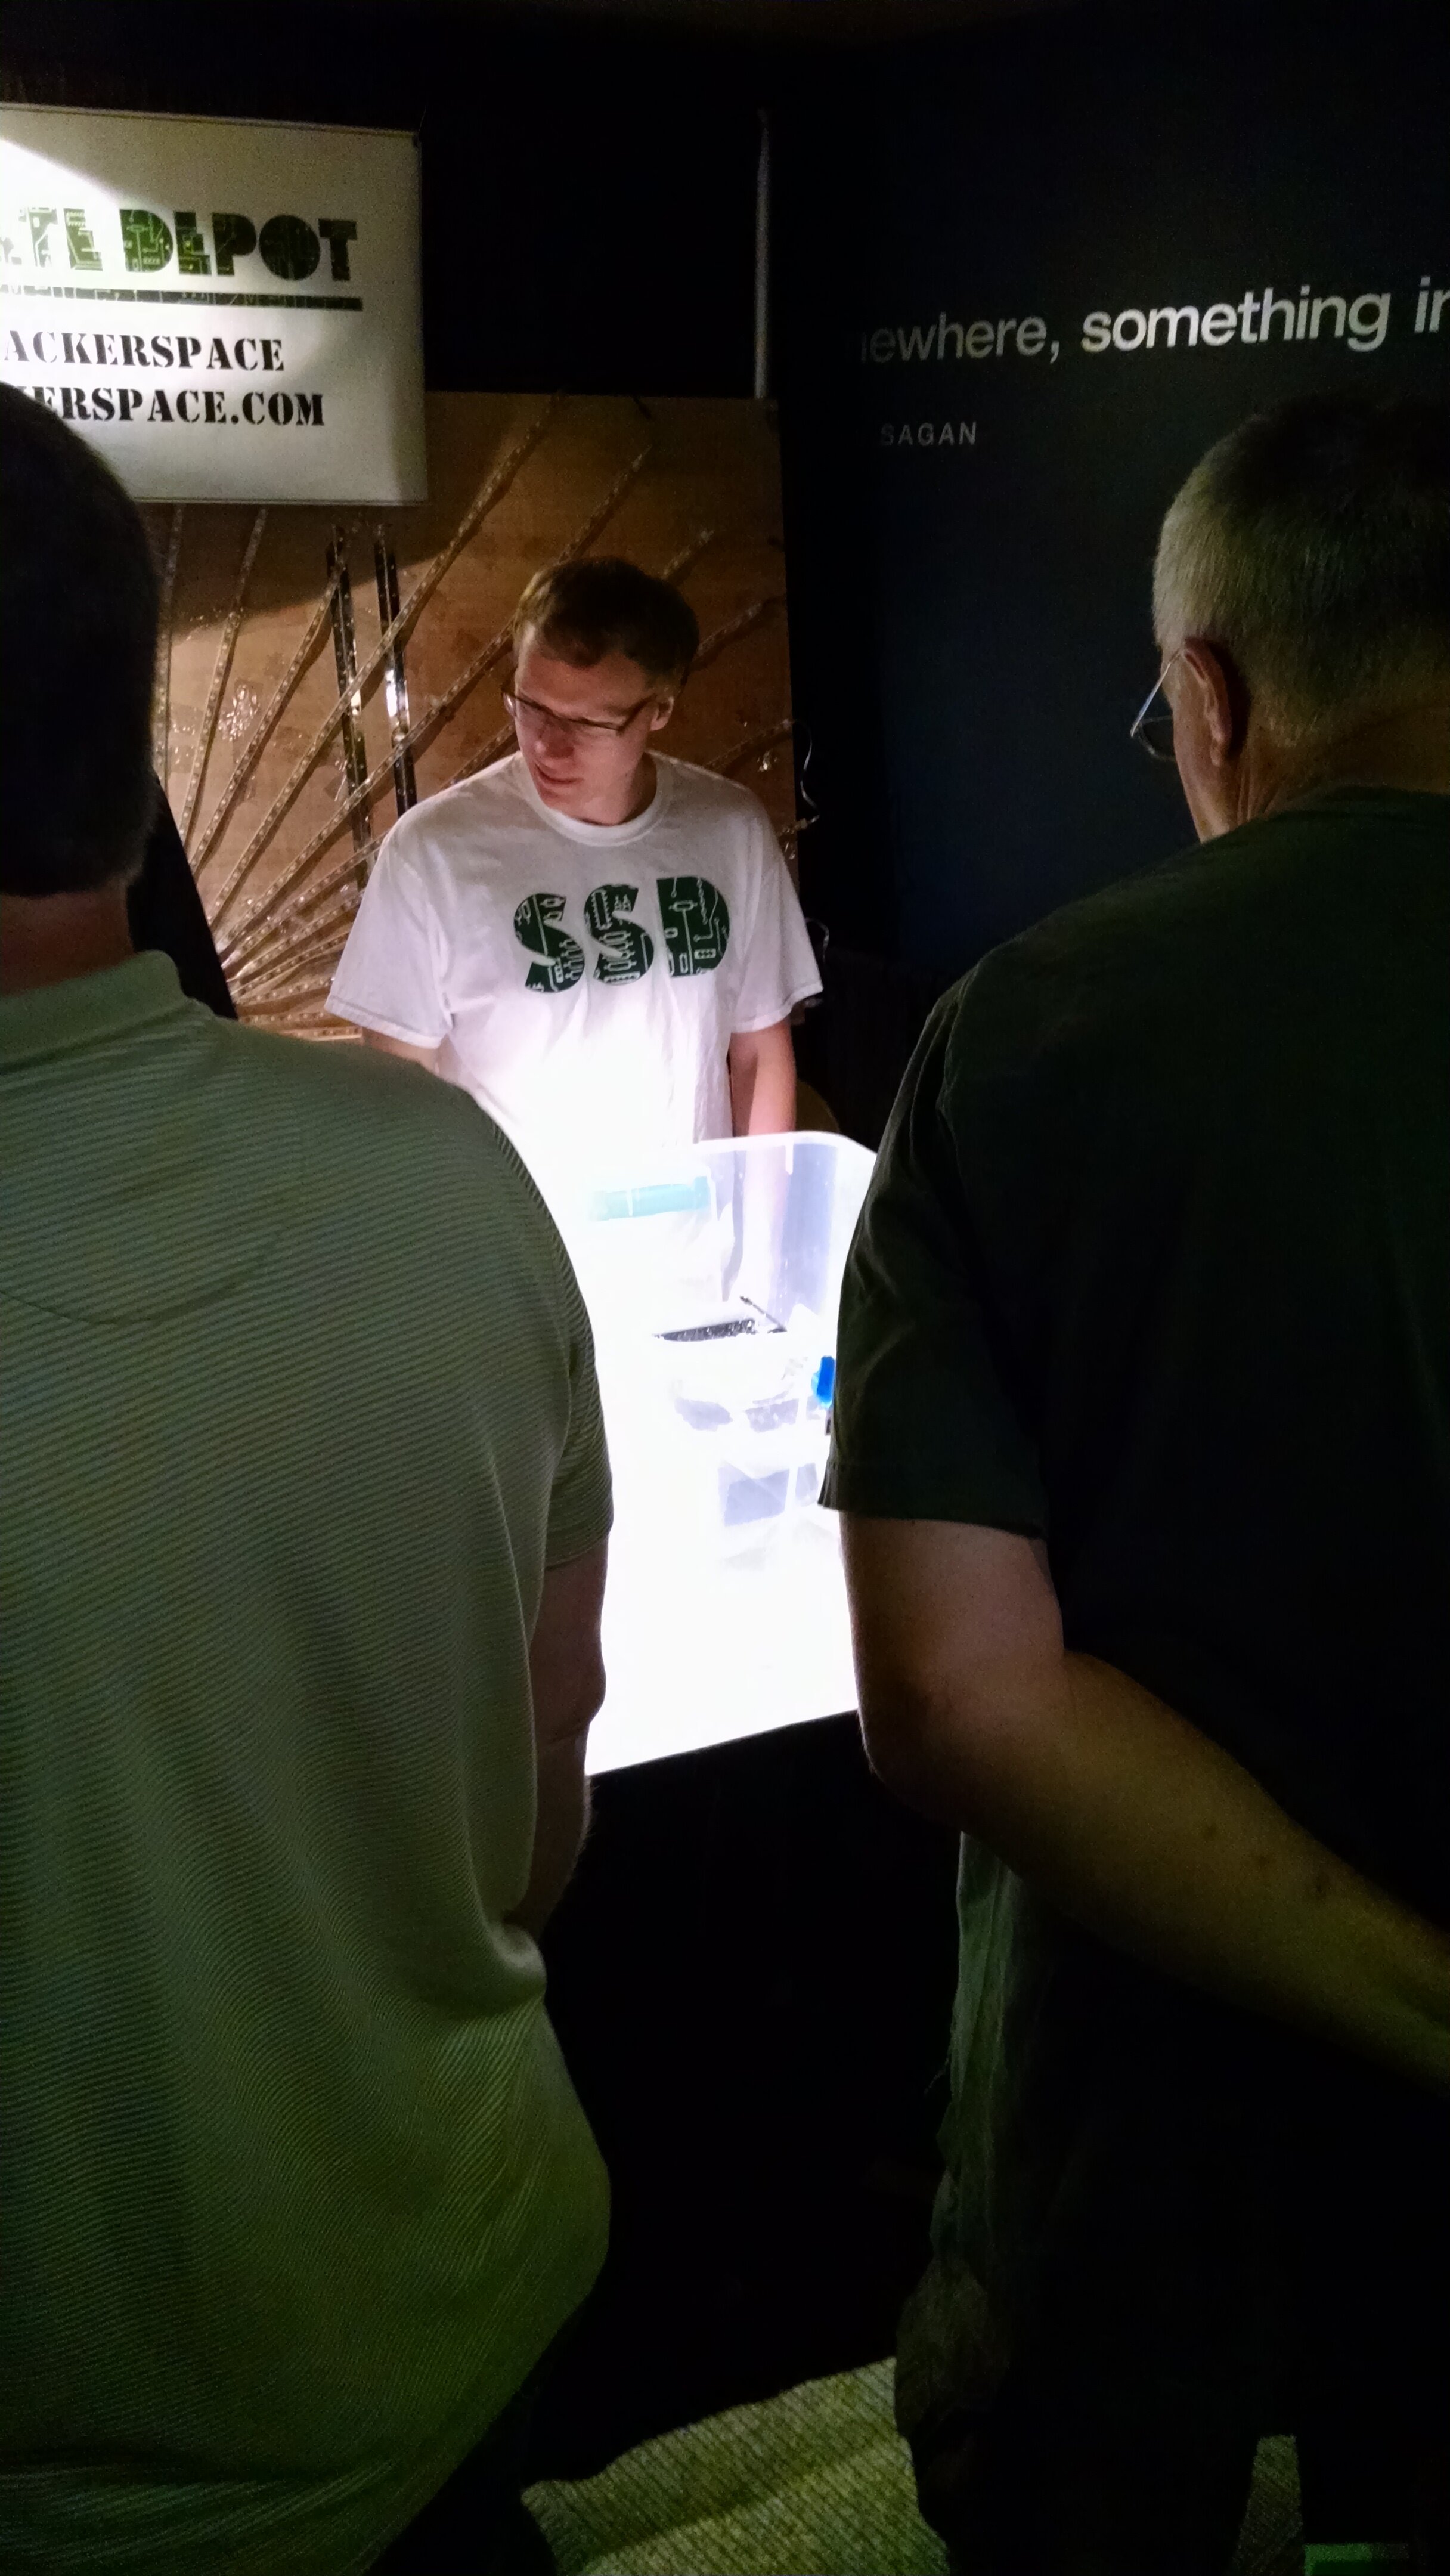
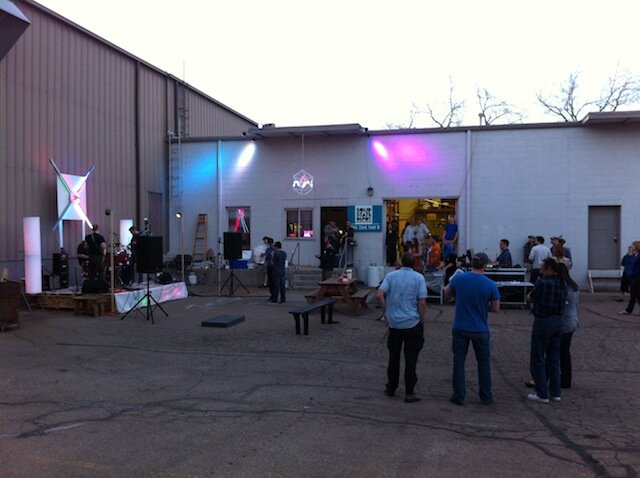
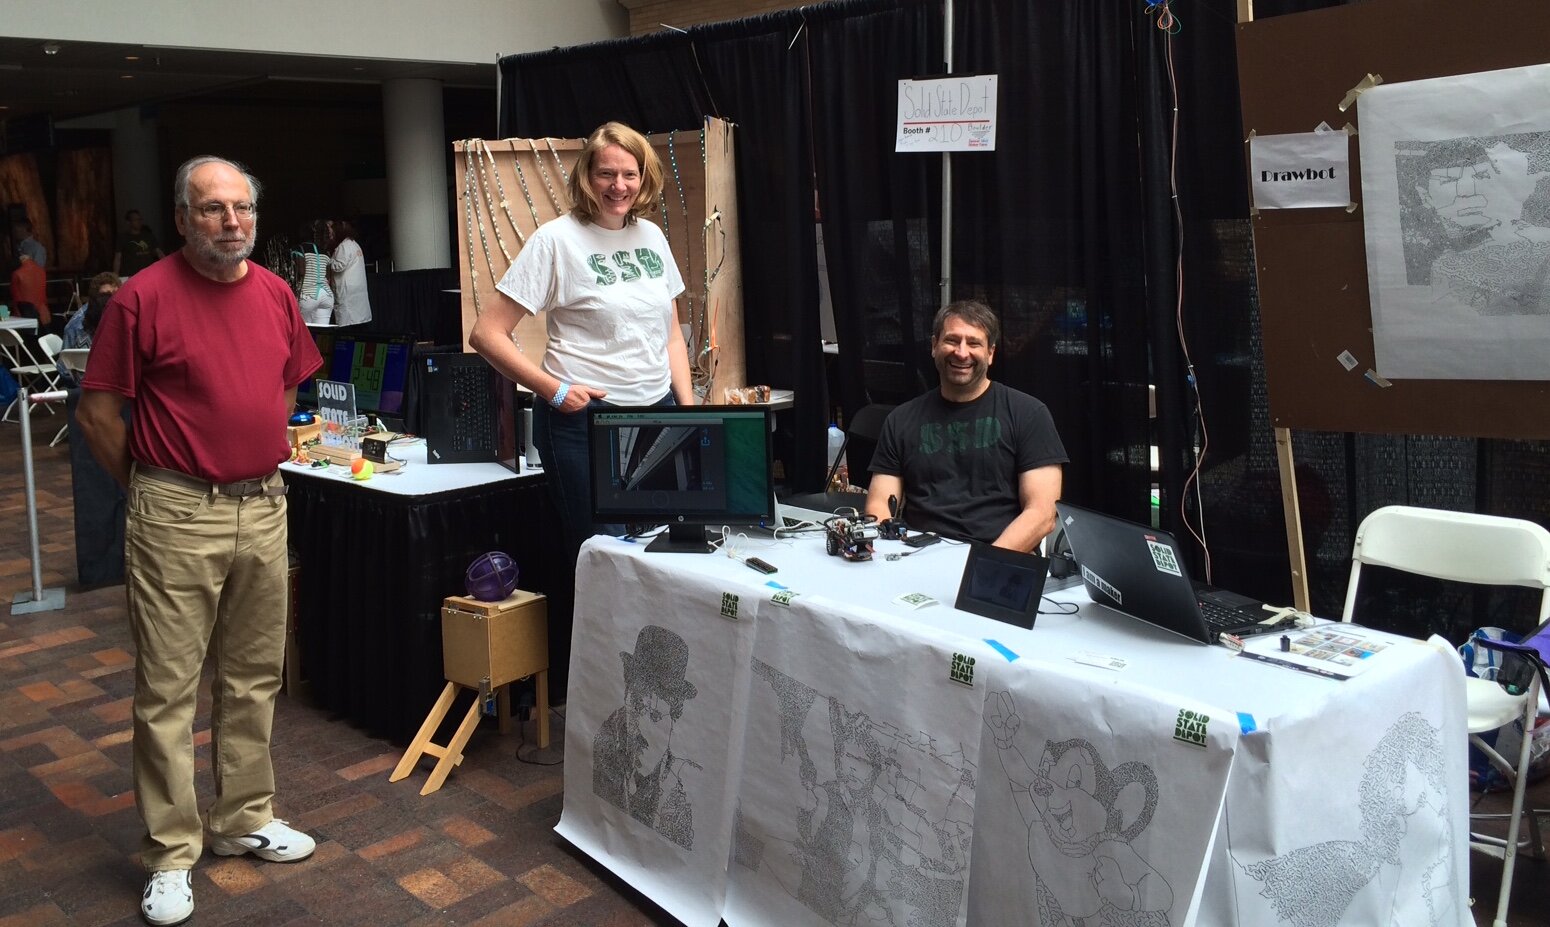
SSD members turned out in force the the mini maker fair held at the Denver Museum of Nature and Science, and the crowd was fantastic.

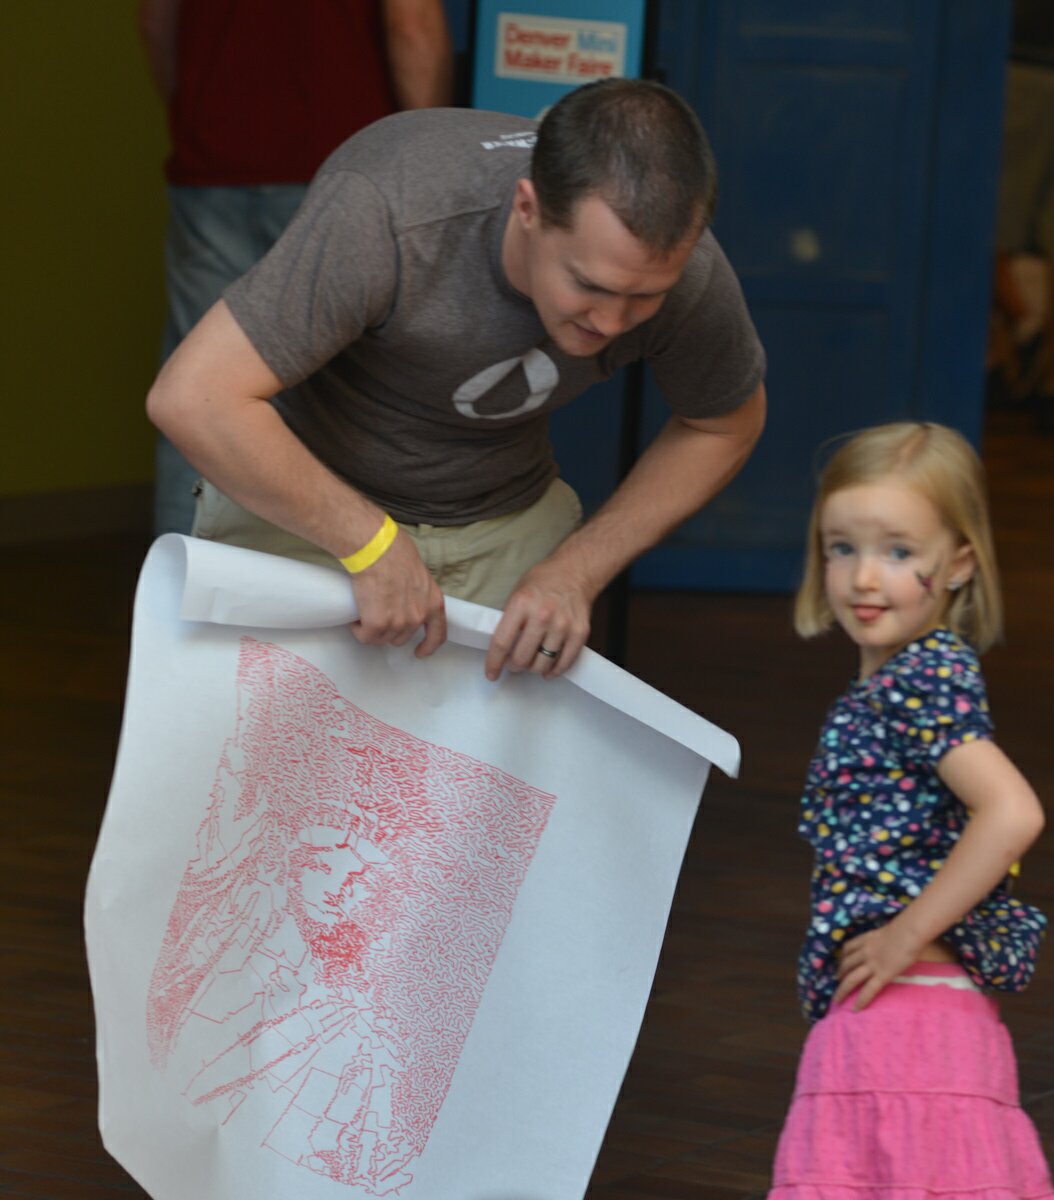
Jim’s Drawbot was a huge draw — one girl adored it and was thrilled when he gave her the drawing it had just made!

DSC_7139 DSC_7140

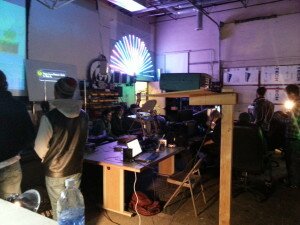
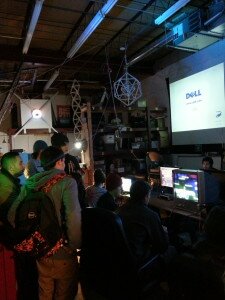
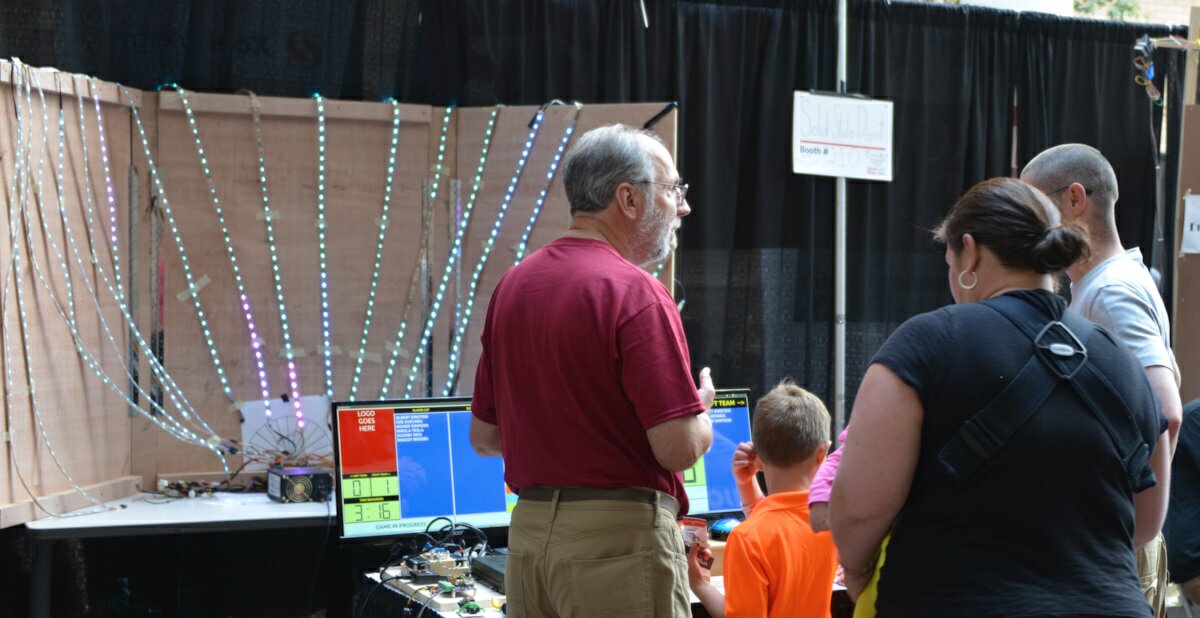
Terry’s soccer scoring system got the most interest and kids loved rolling tennis balls through the goalposts and watching it mark their point.  Pictured behind is the mini version of John English’s Soundpuddle, set up by Tijlon.

DSC_7178

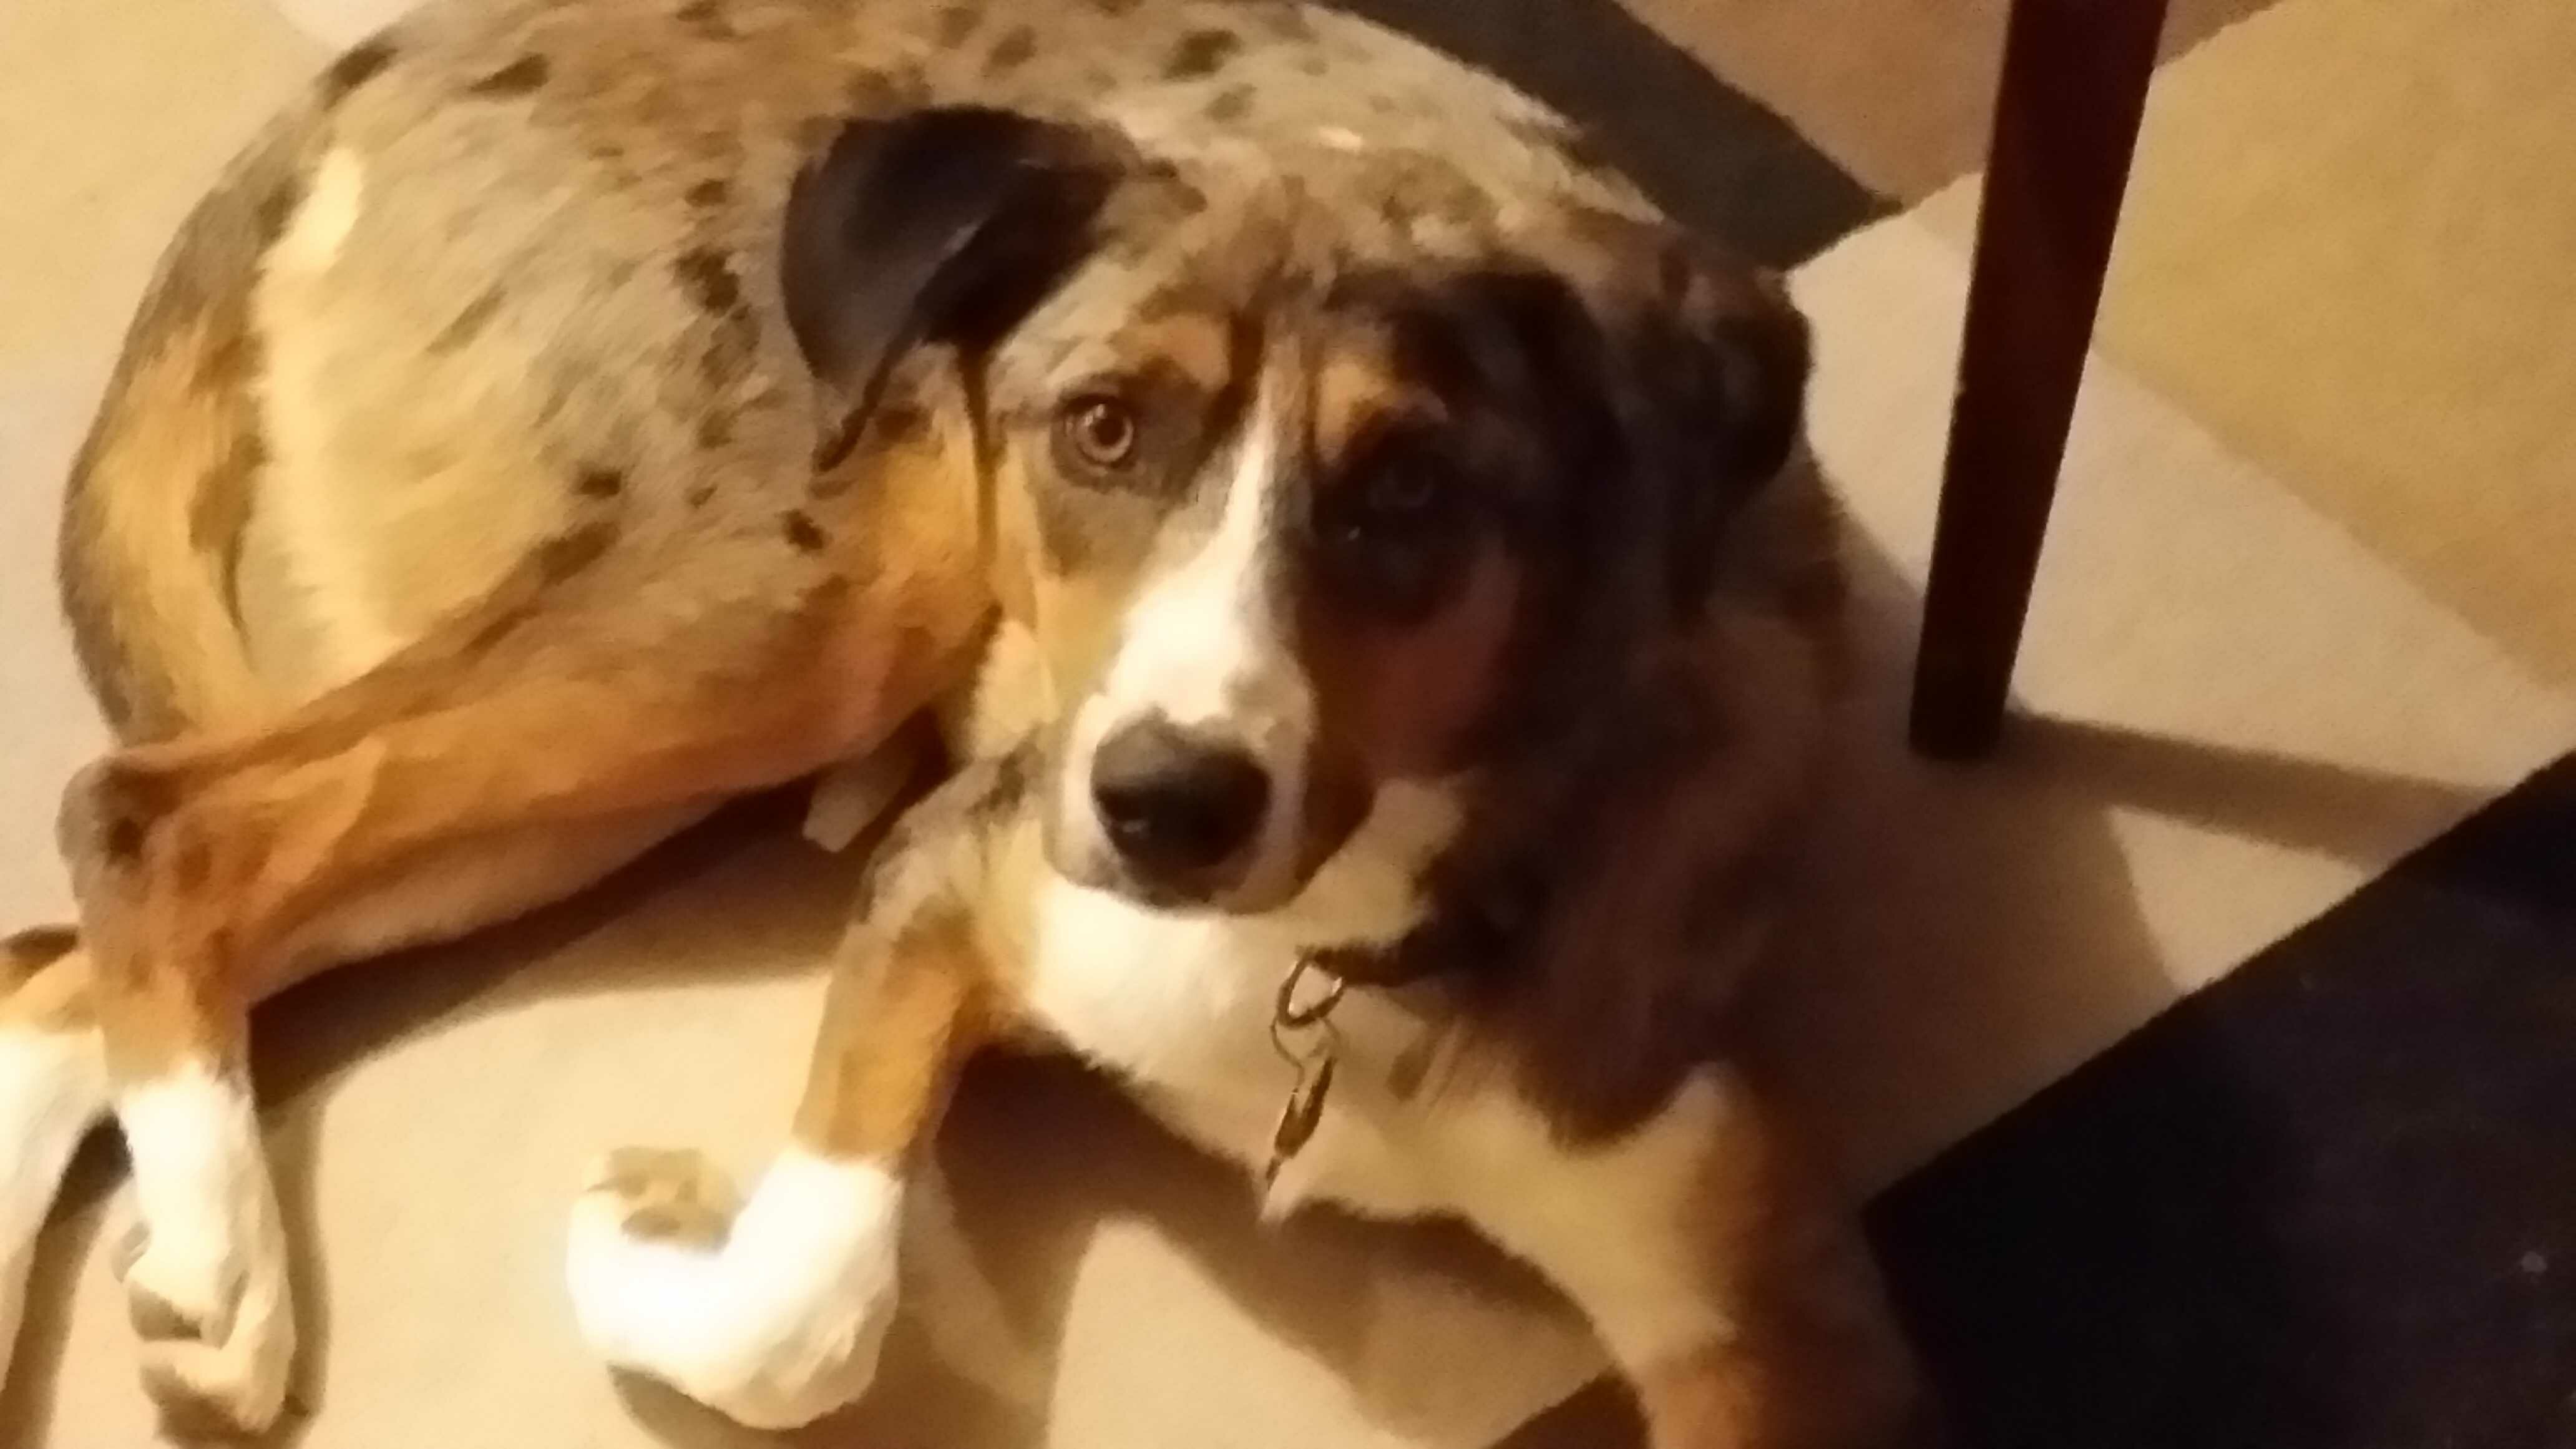
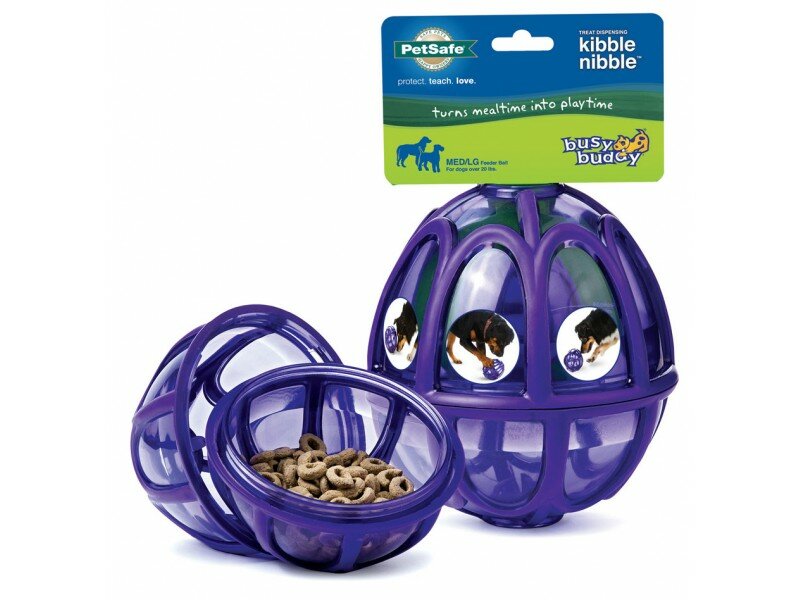
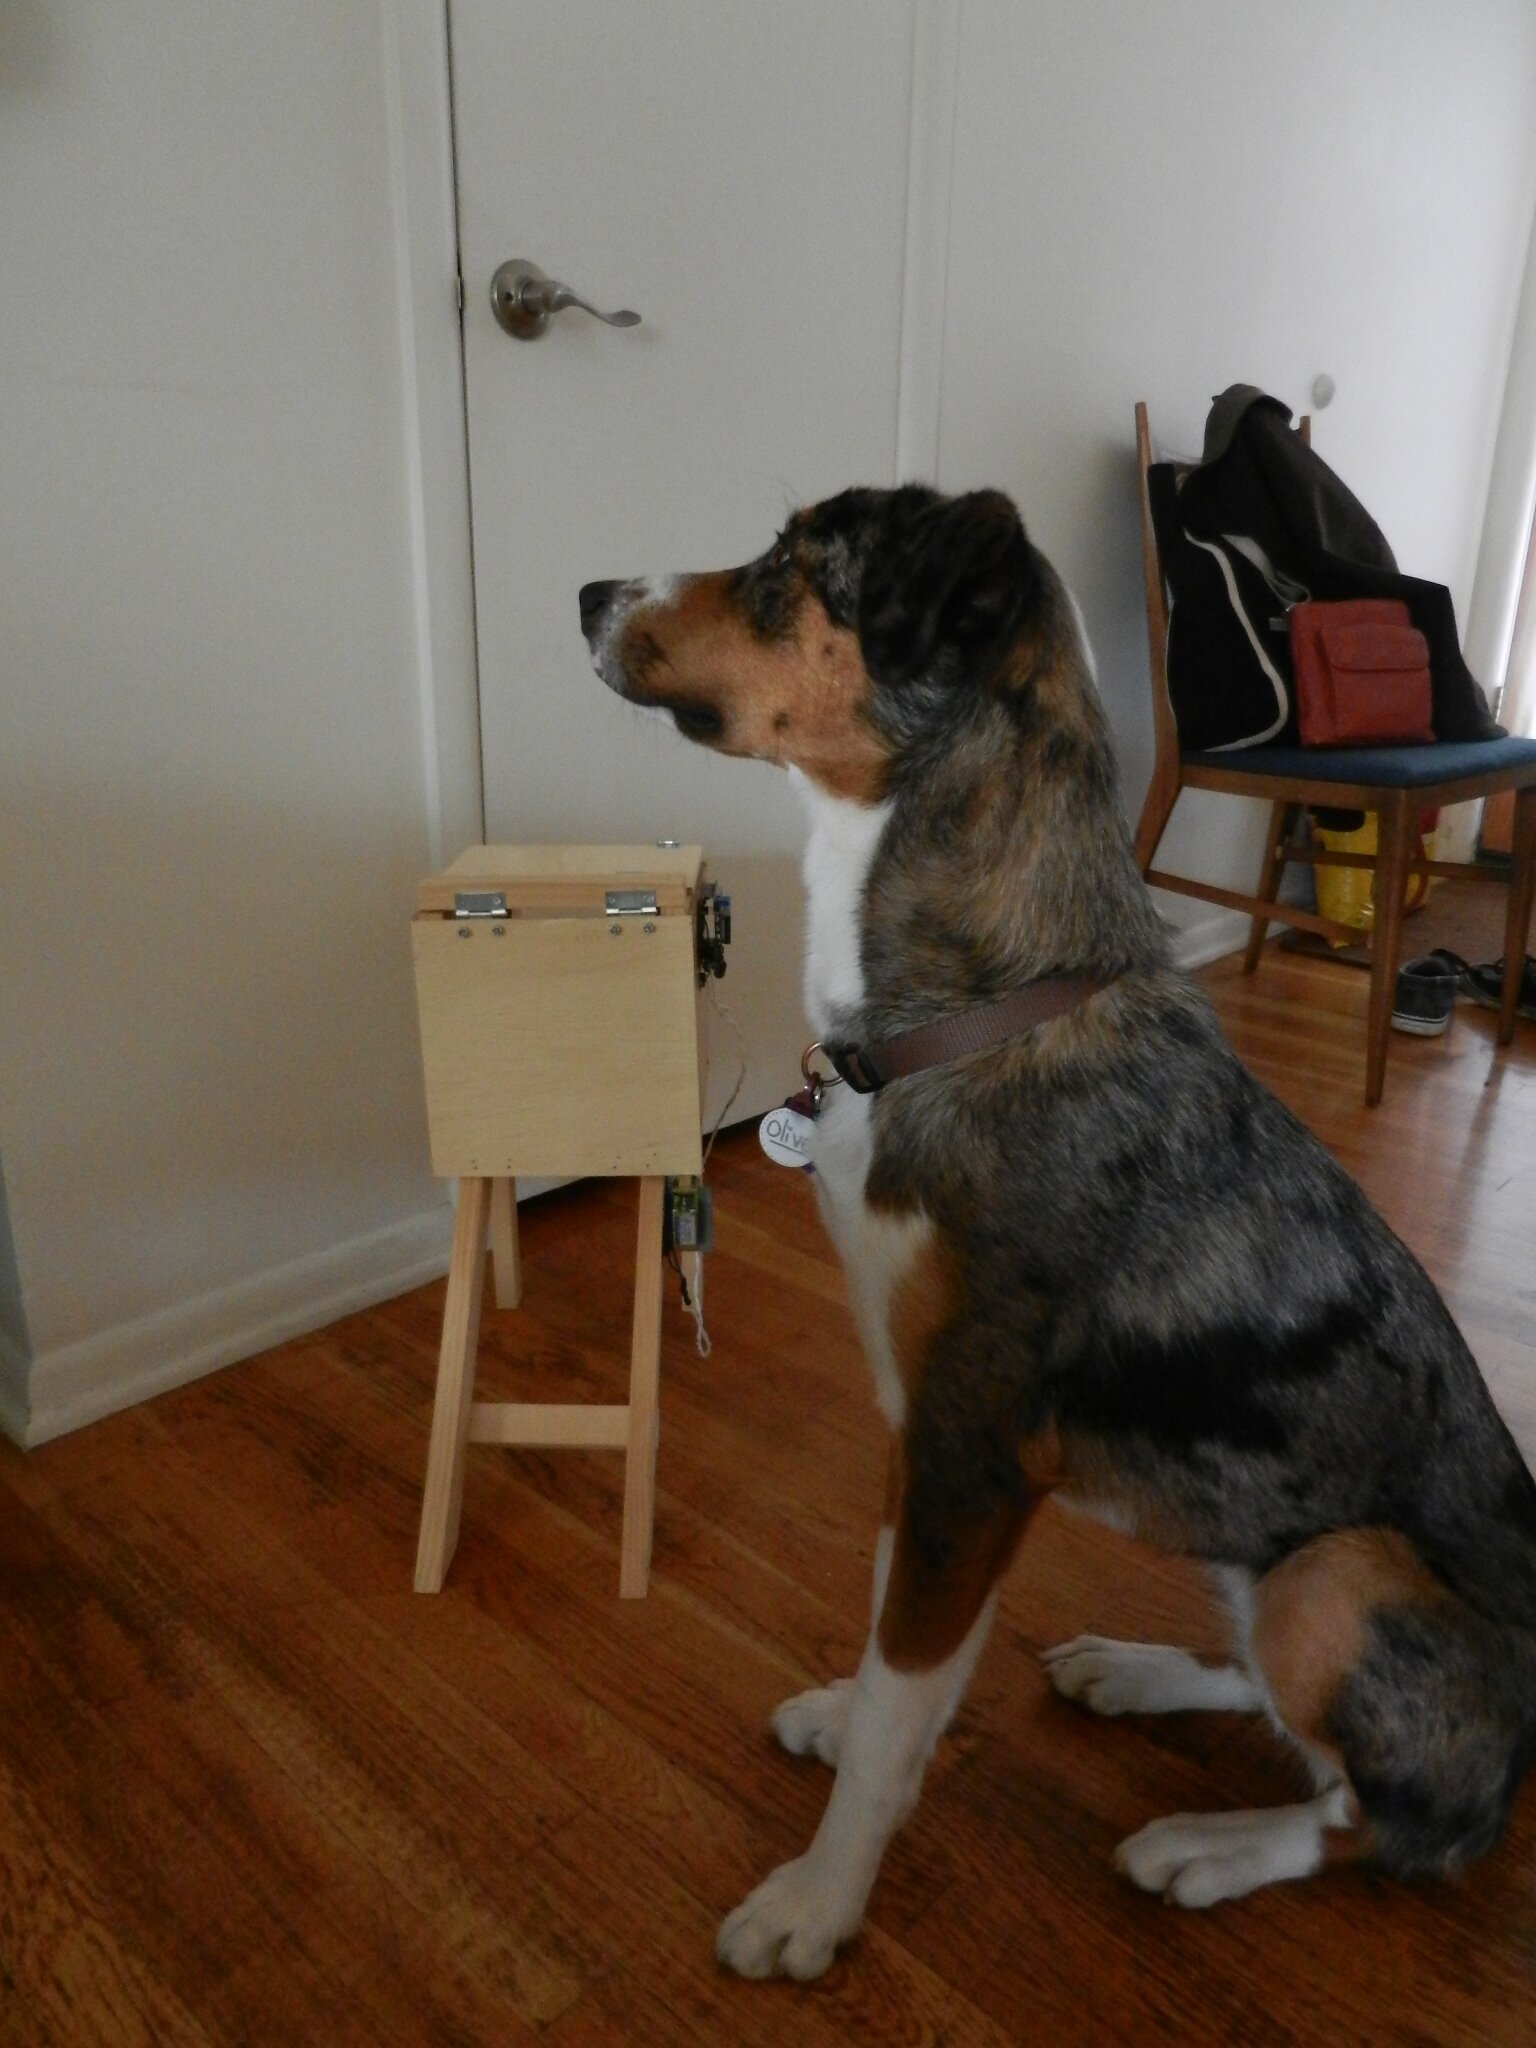
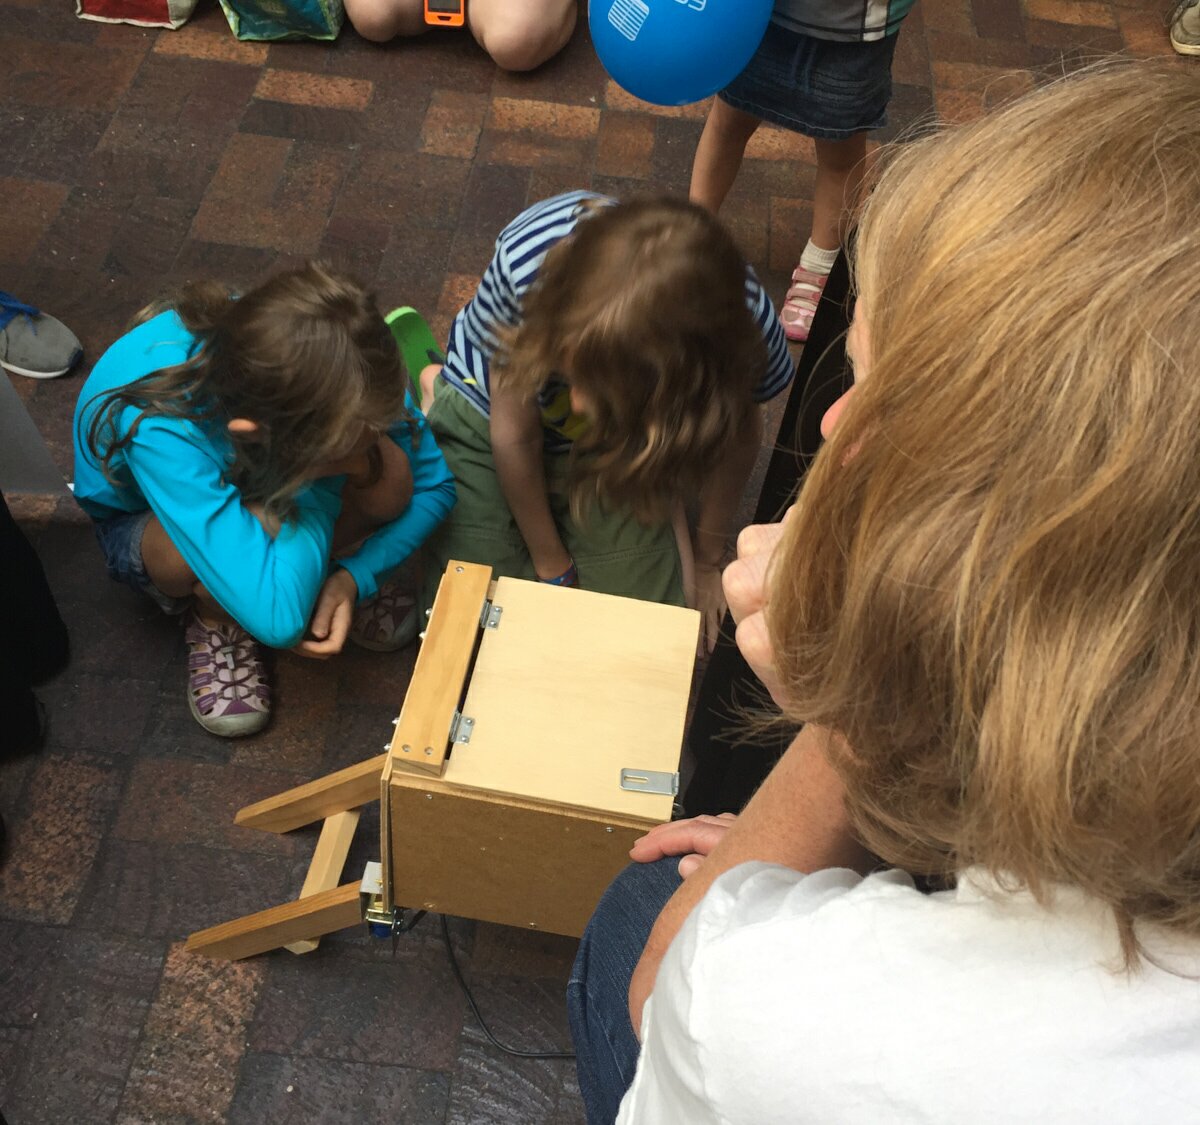
Jennifer’s automatic dog play system also entertains kids pretty well!

IMG_4964

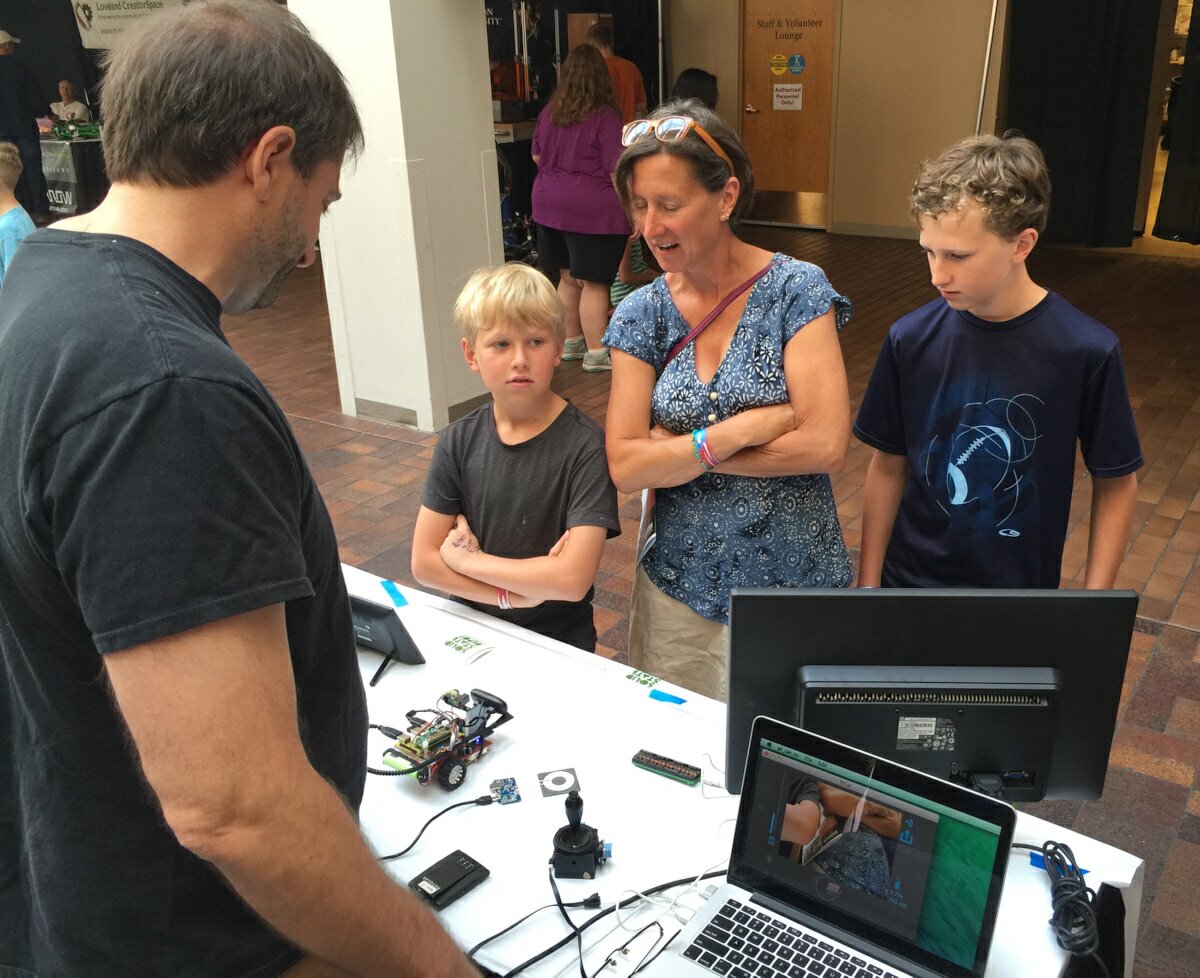
Dan’s remote car had lots of kids mugging for its camera.

IMG_4960

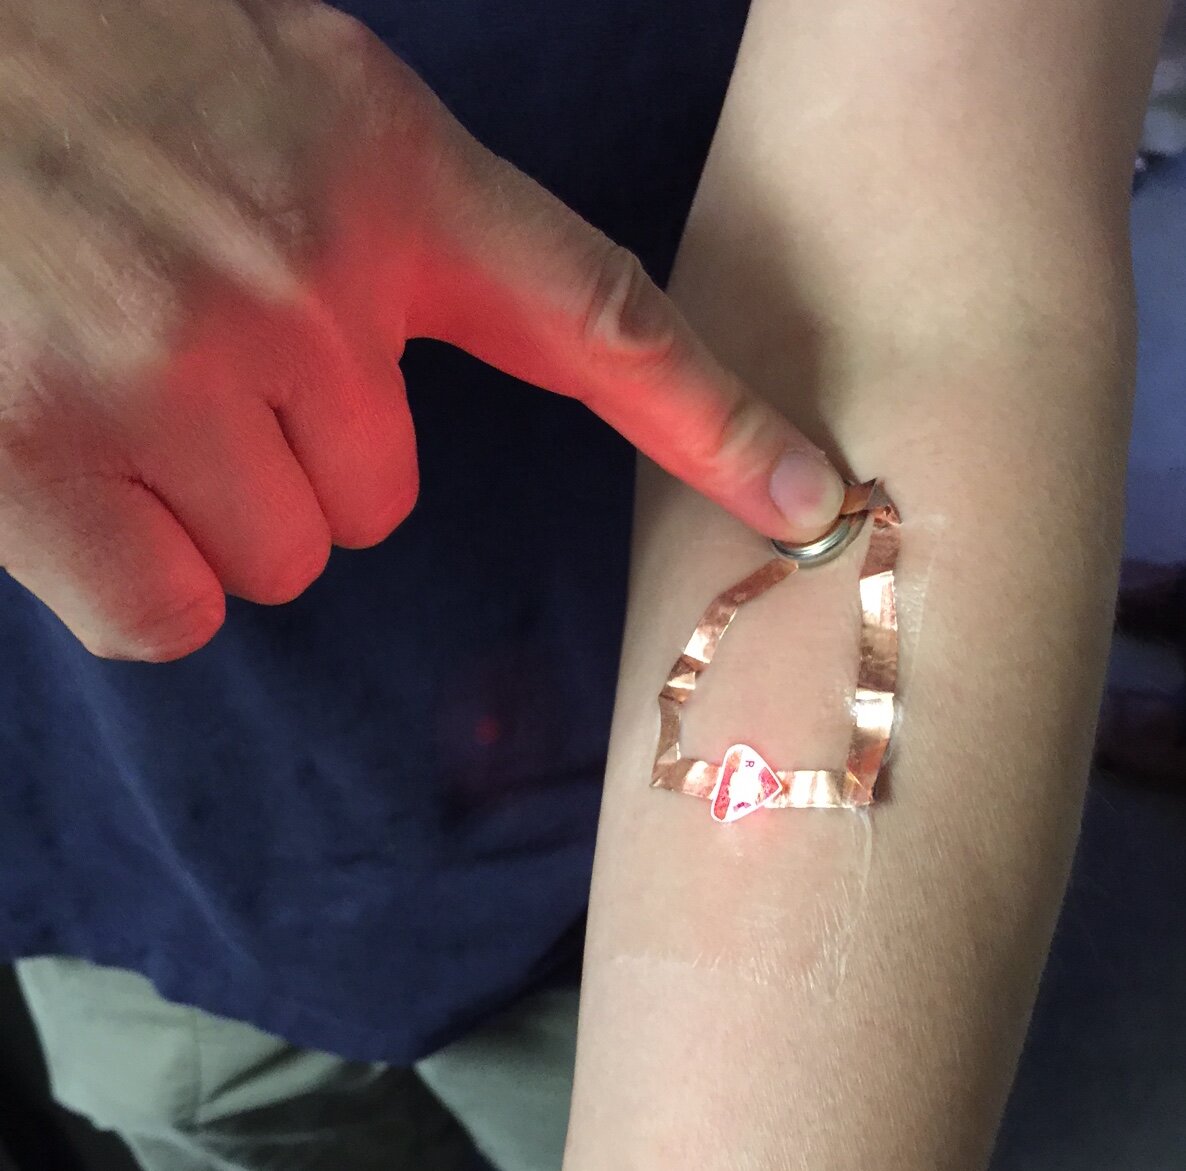
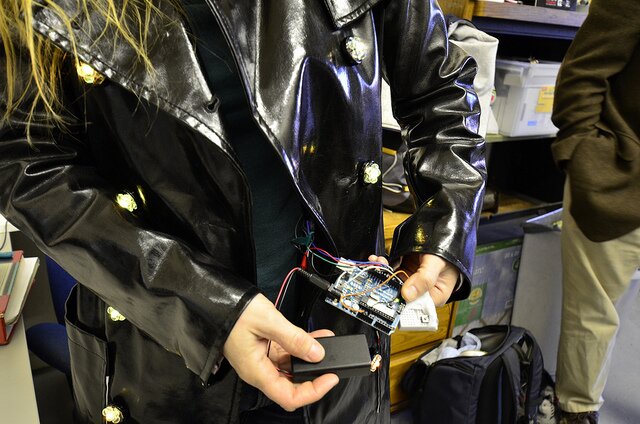
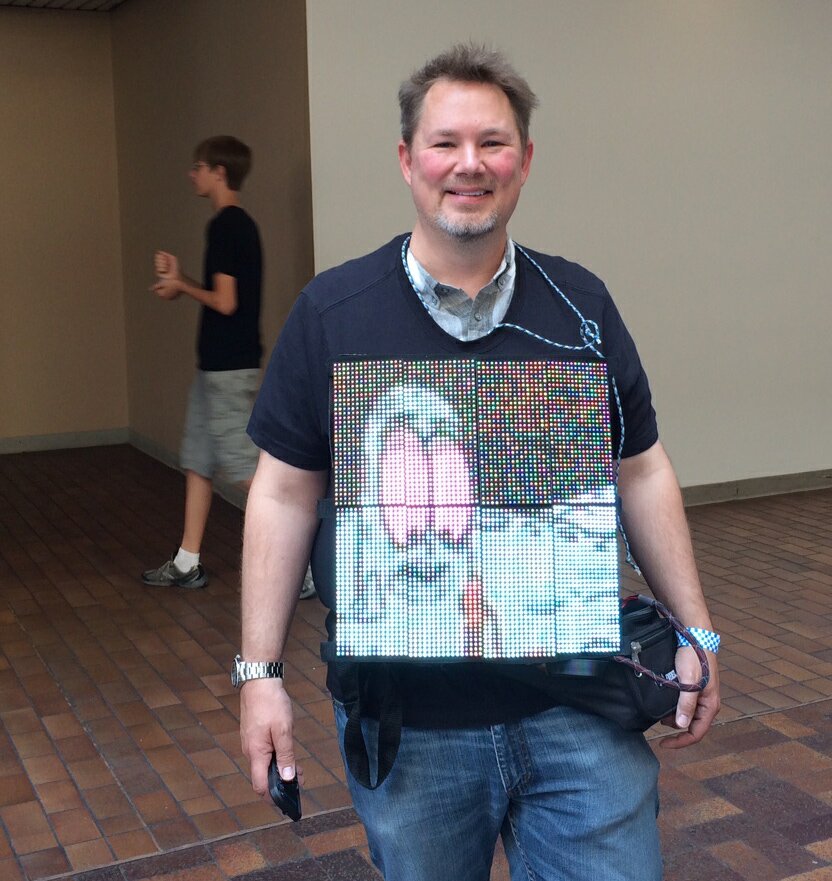
I had lots of fun walking around with my video T-shirt and explaining how it worked.  Mostly though, kids just stared at it, mesmerized.

IMG_5668


IMG_5653


Turnout was excellent for other booths, with the return of many popular exhibits and new ones, too.

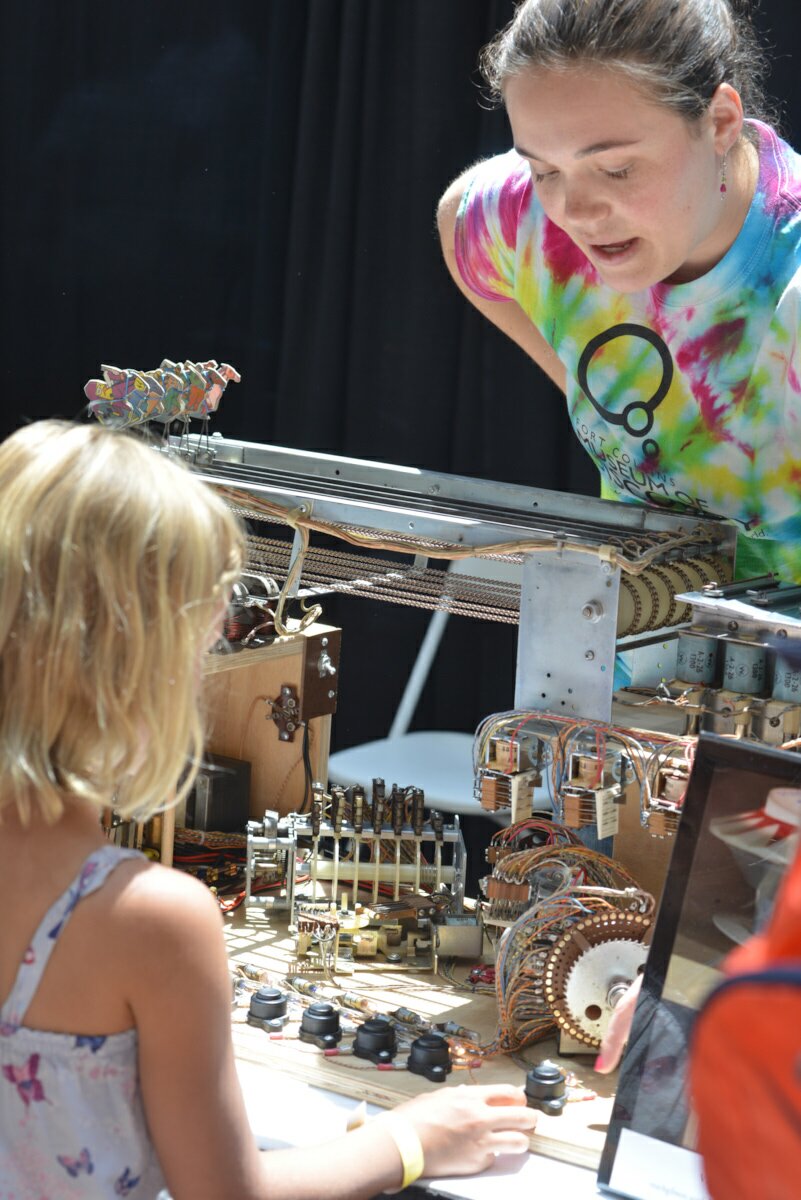
One of my all-time favorites is a group that deconstructs old pinball machine mechanisms and explain how they work. Very hands-on, it’s much easier to see how a mechanical score counter works than an electronic one.

DSC_7126 DSC_7201

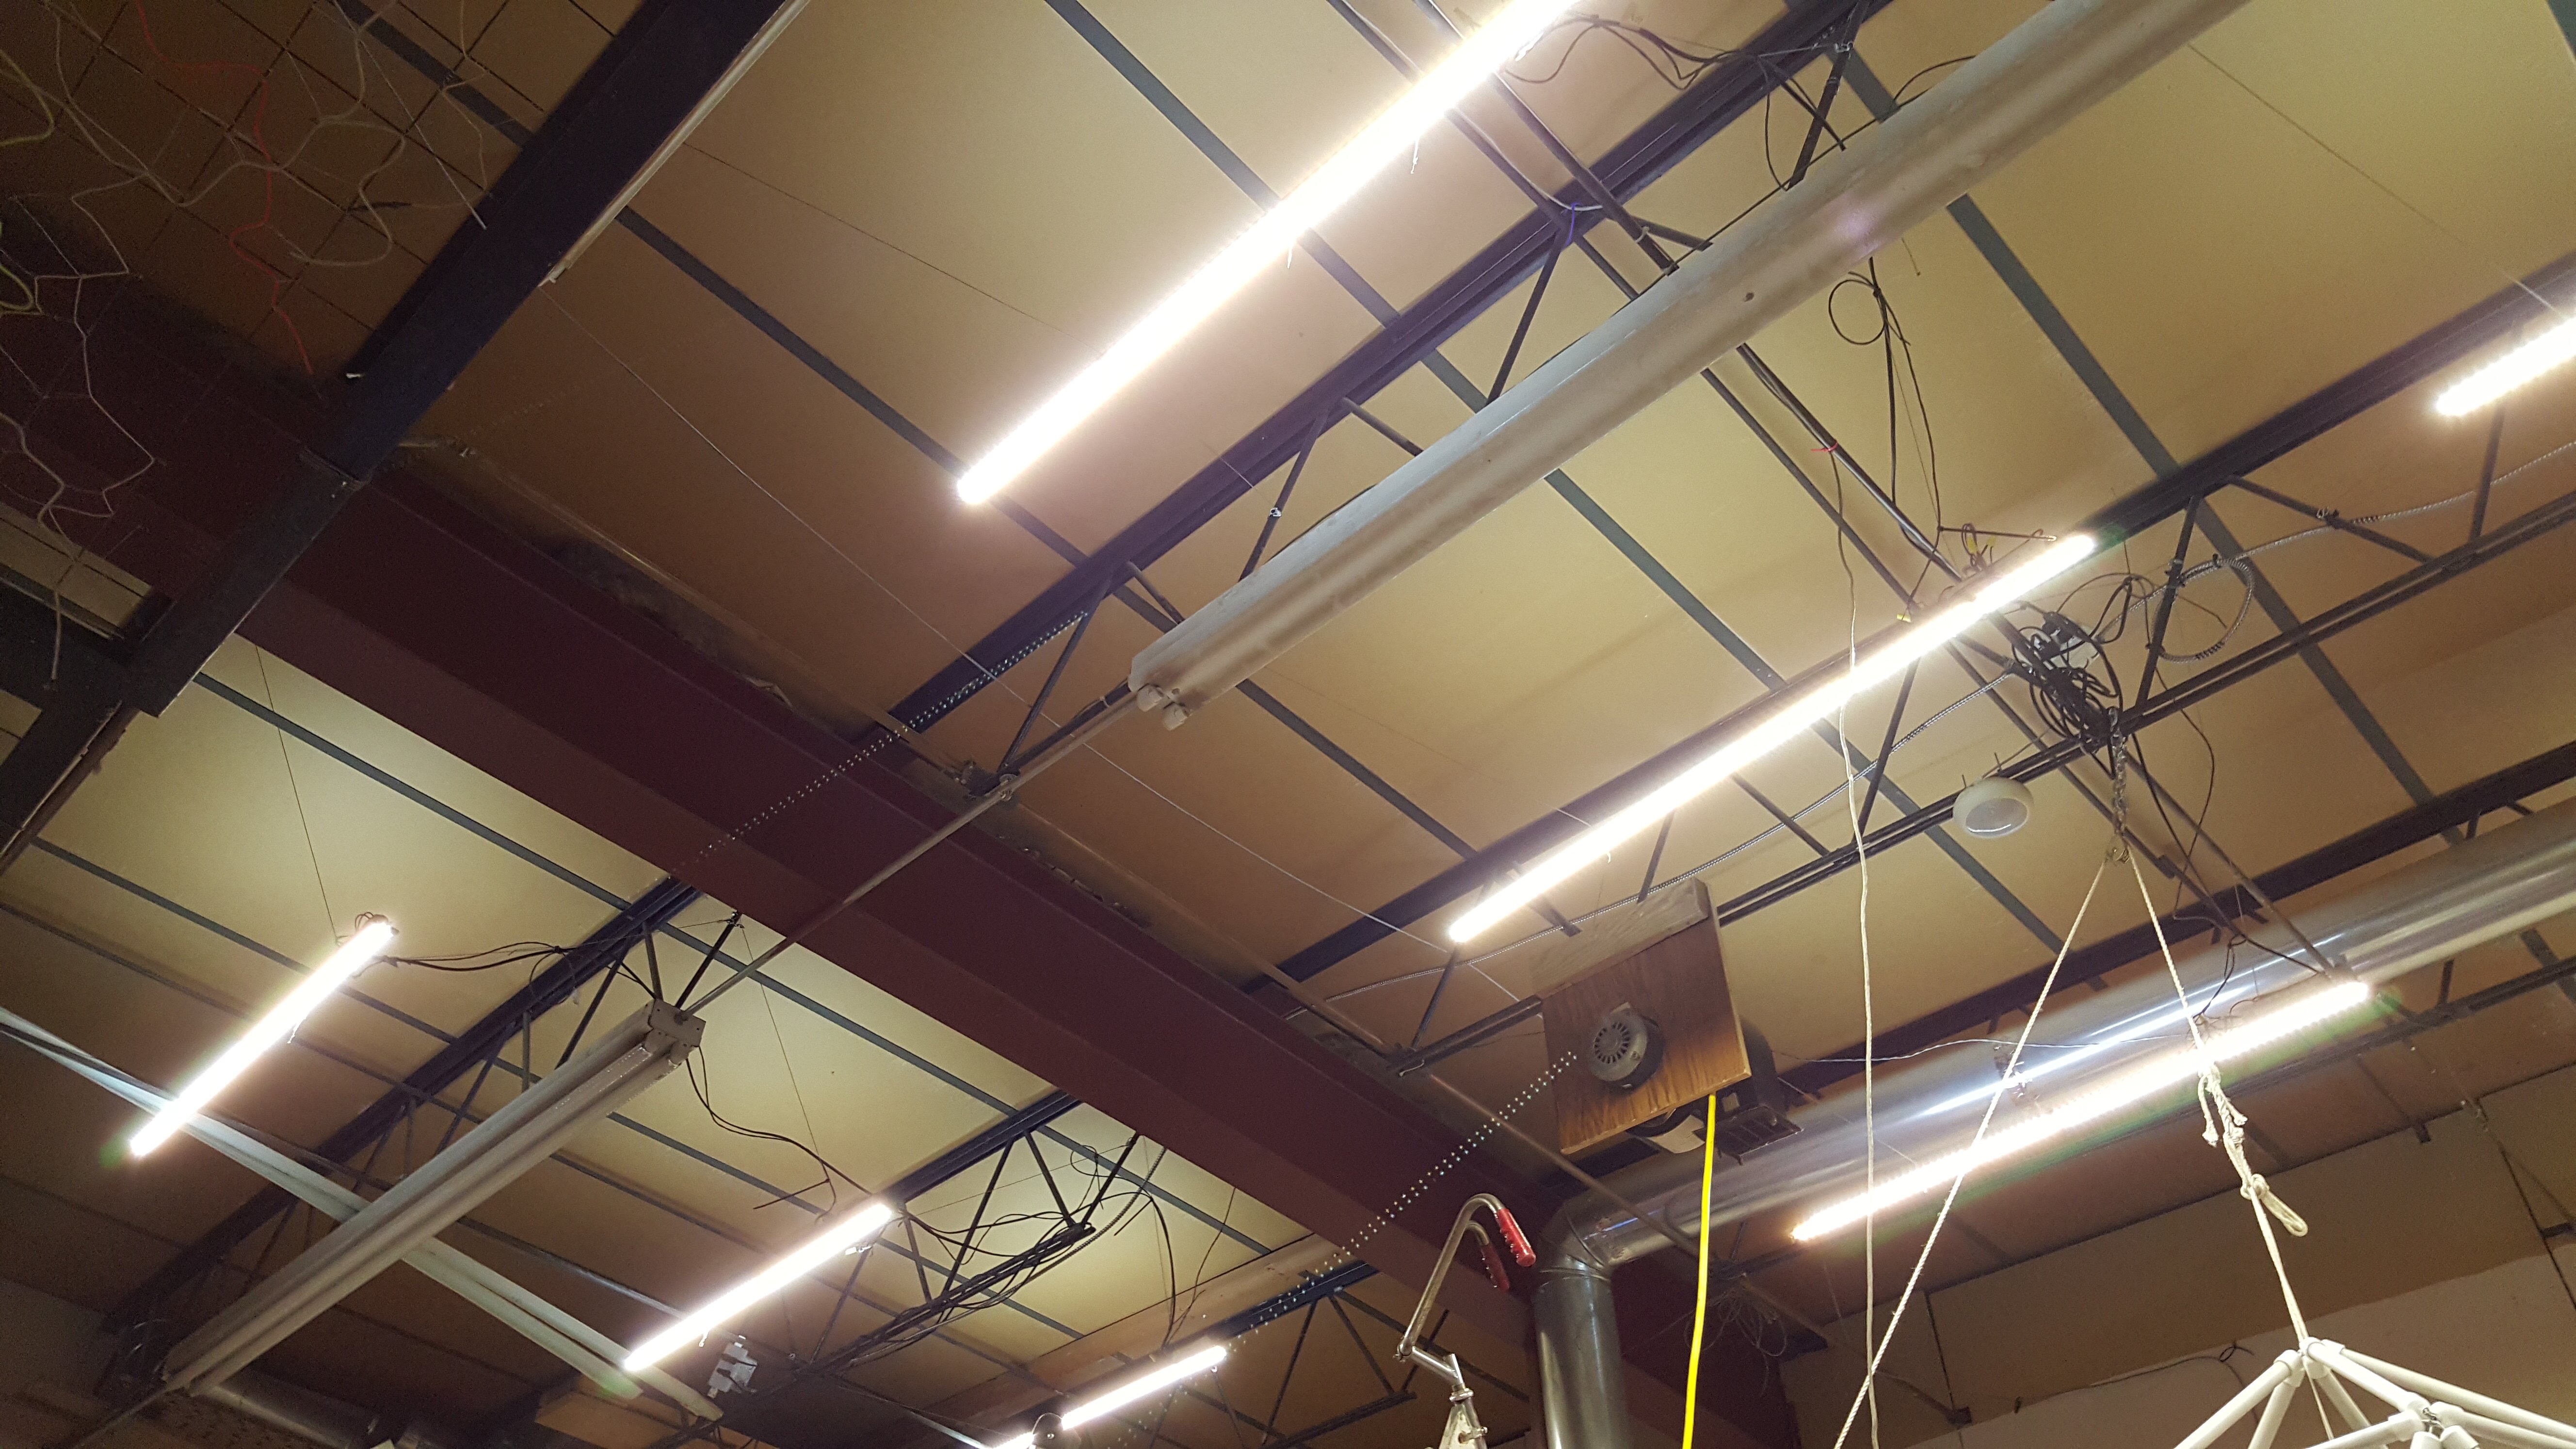
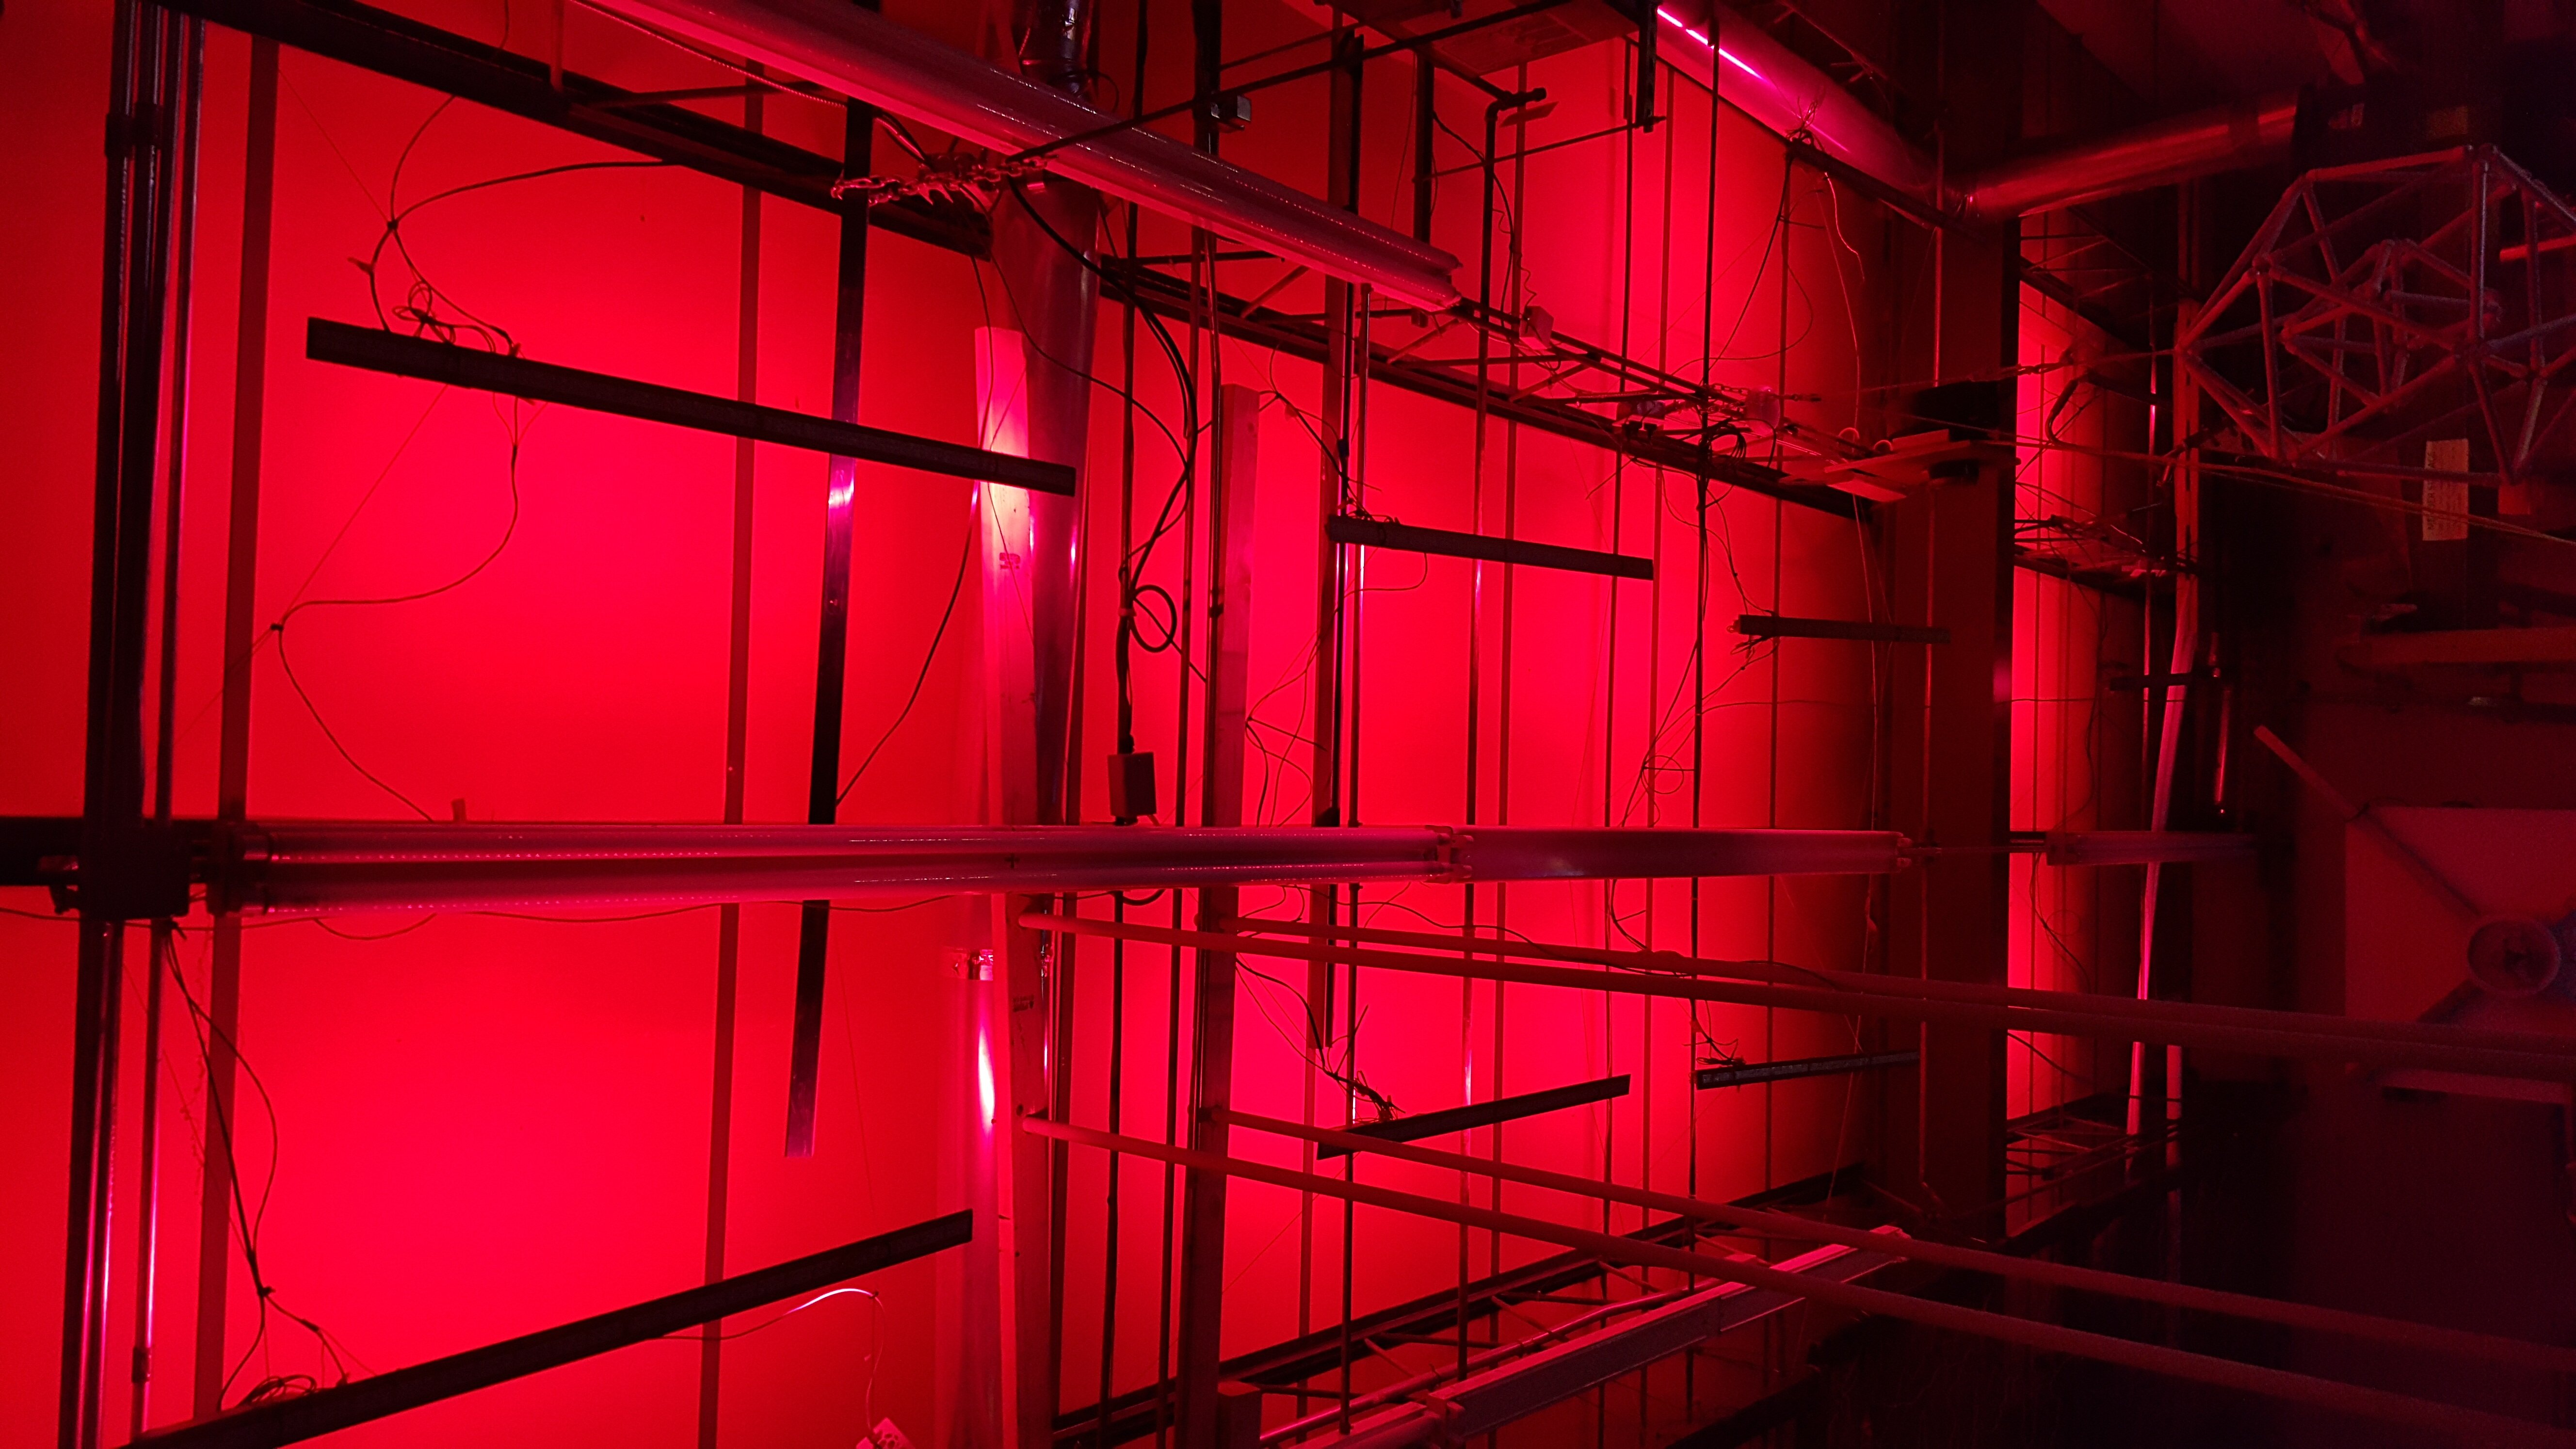
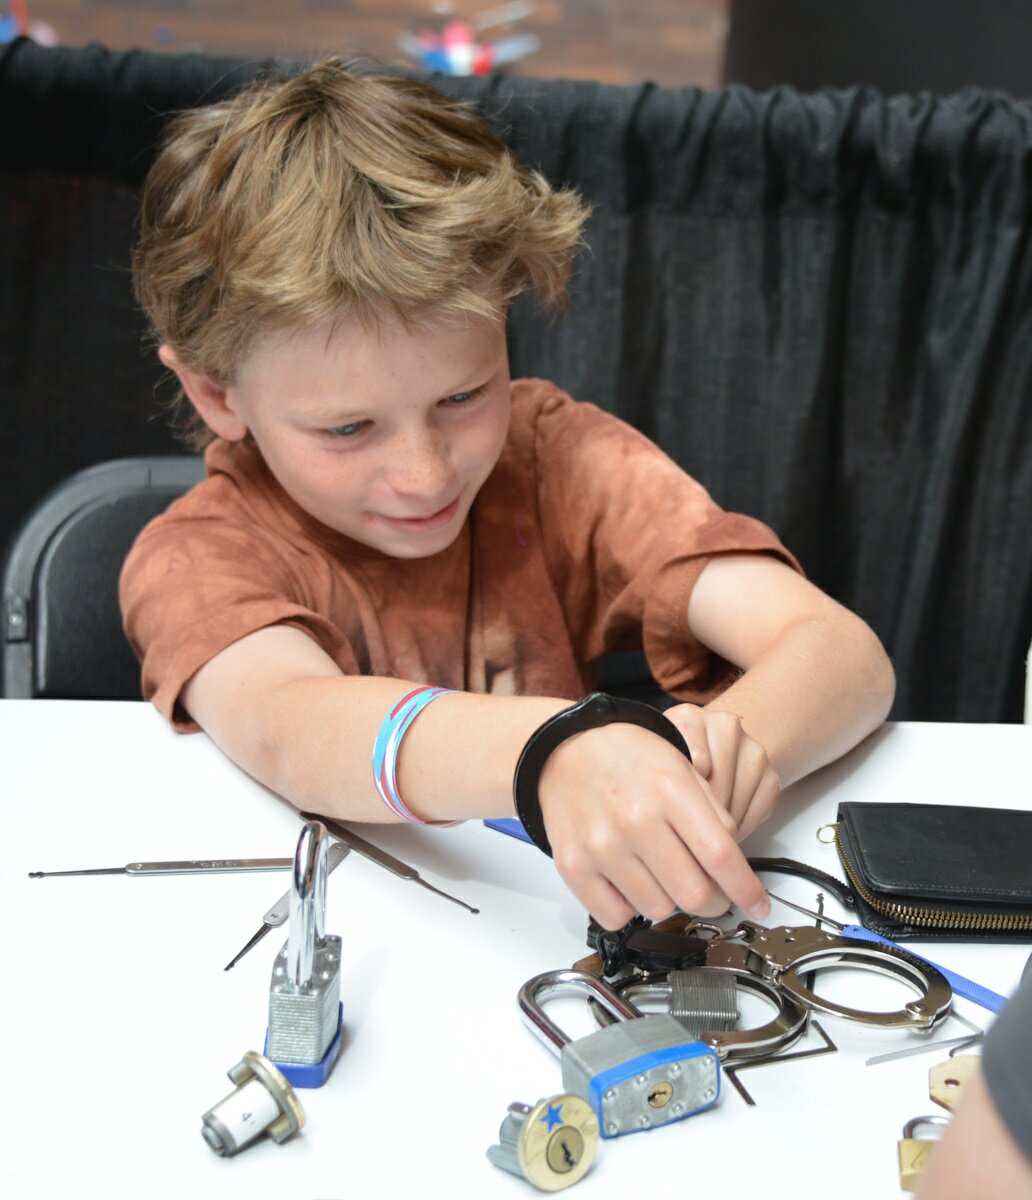
Denhac had a lockpicking workshop, where kids could try to escape from handcuffs. They also had some great lights in the darker area of the Faire

DSC_7142 DSC_7187

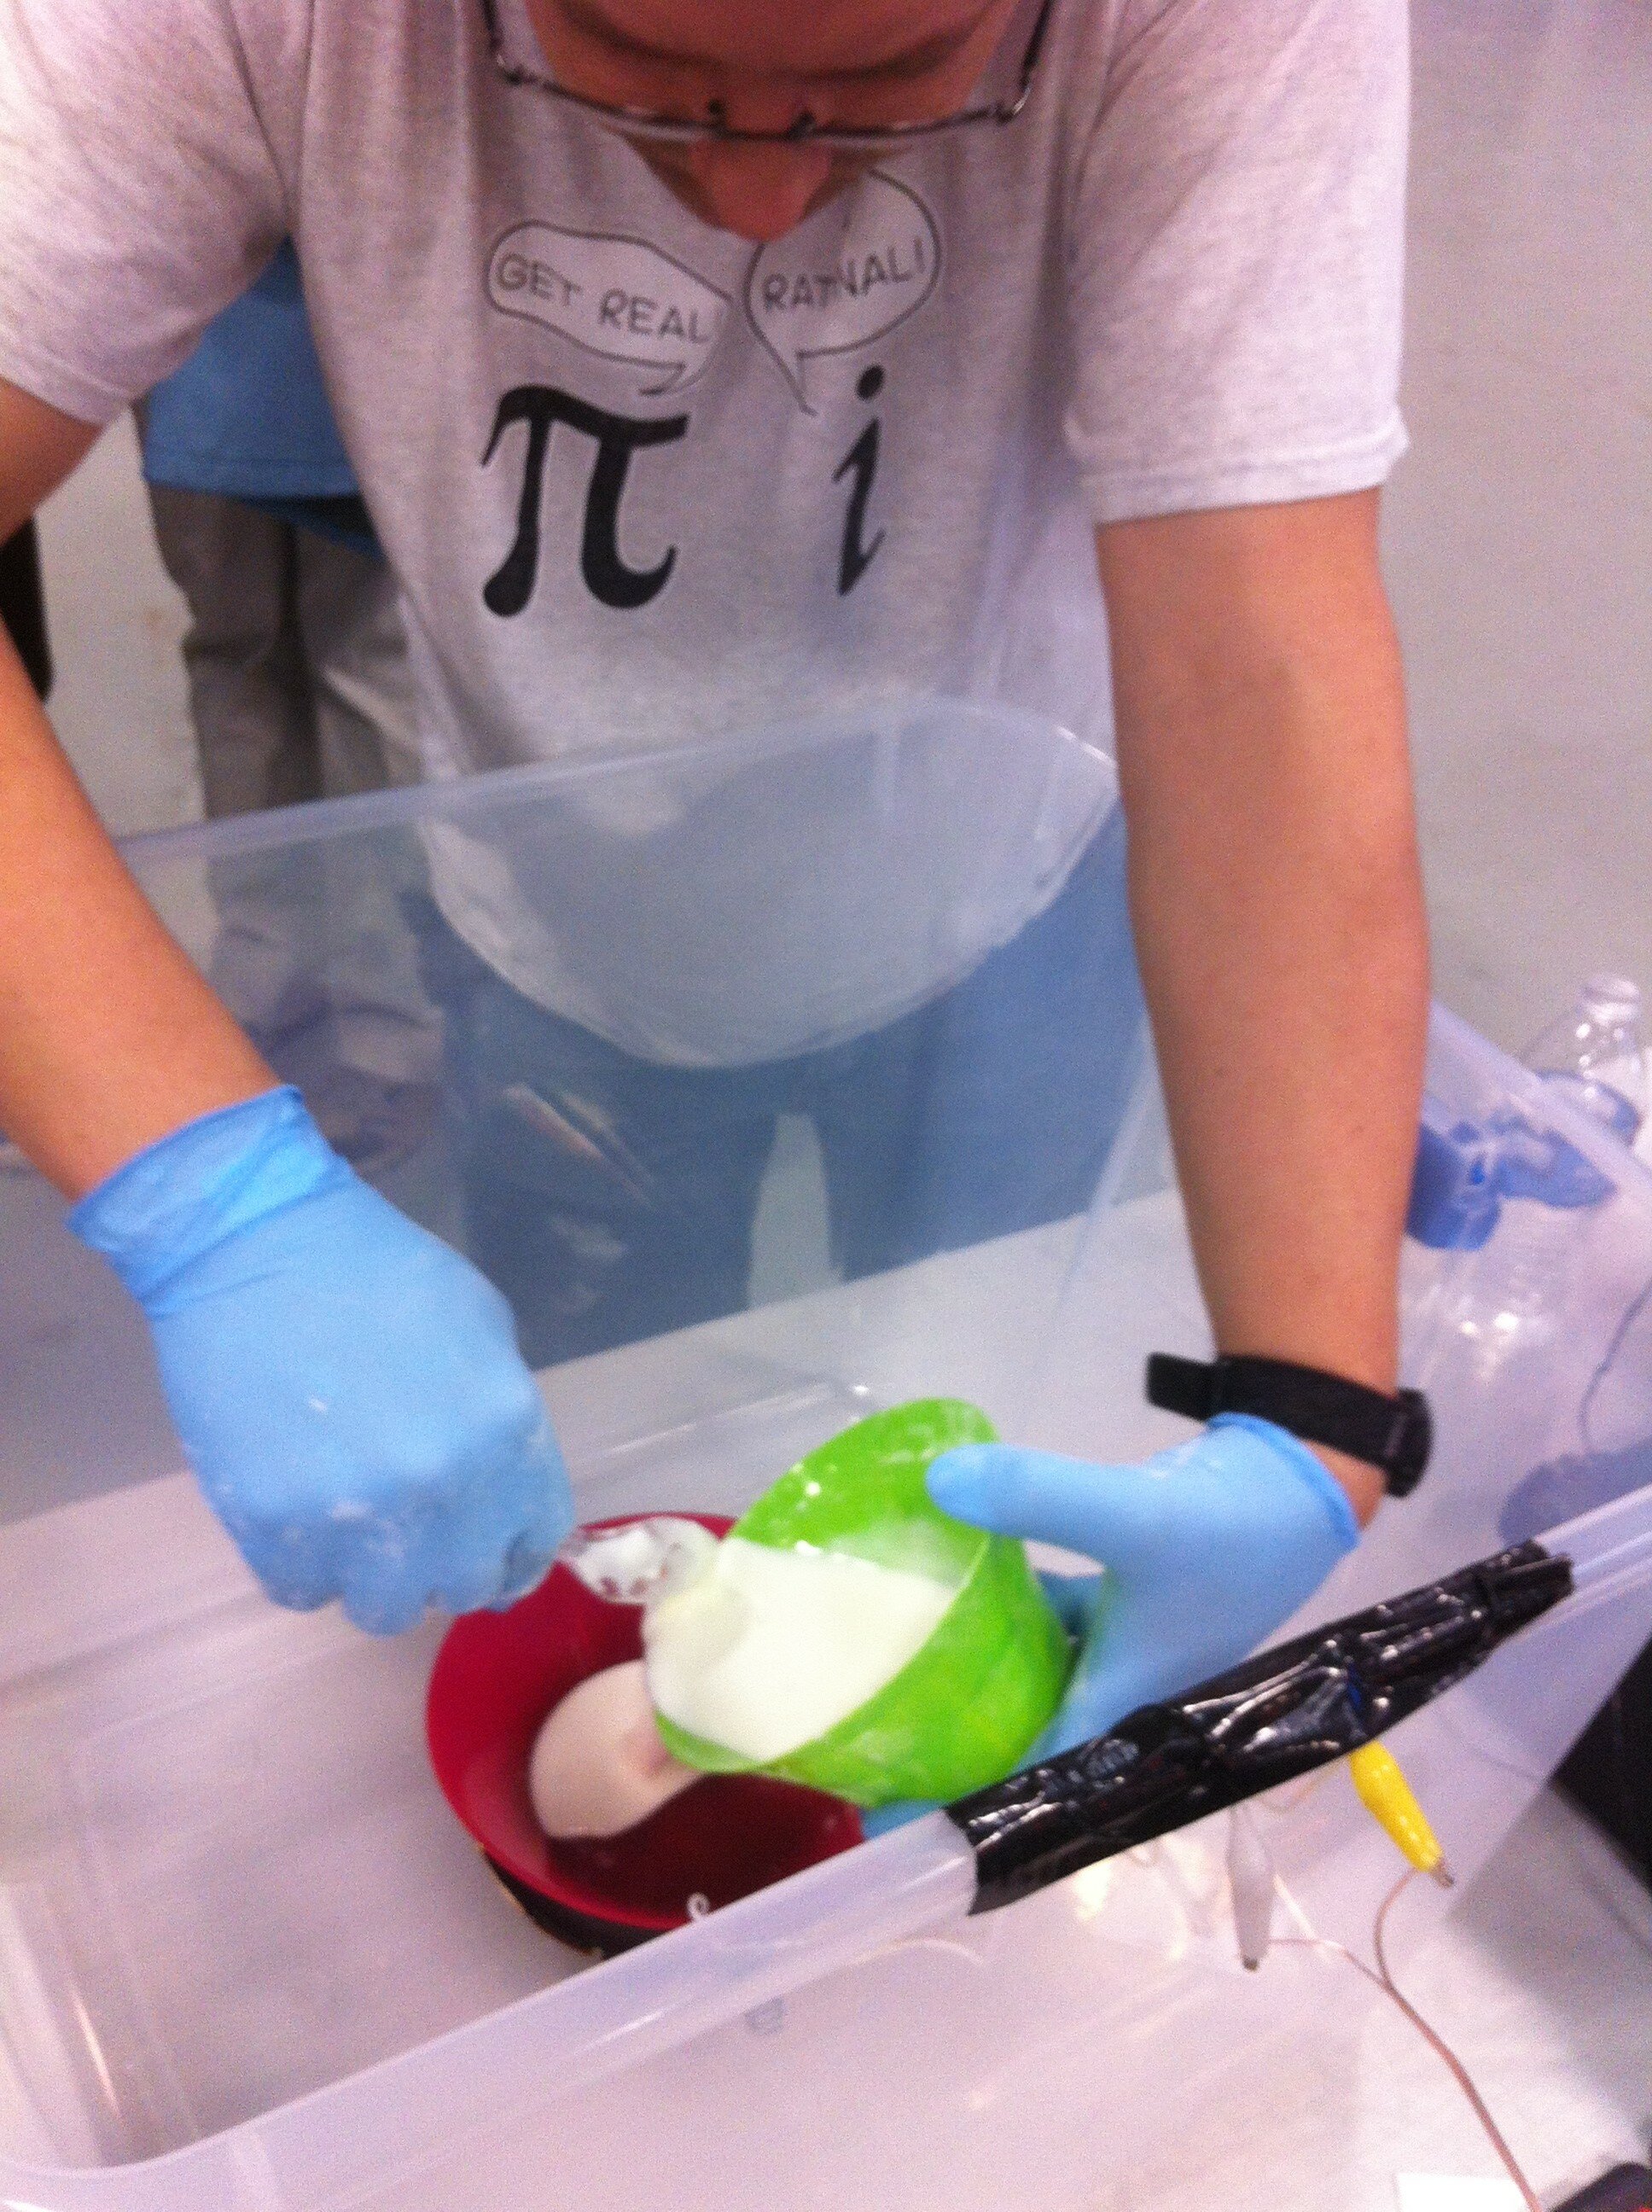
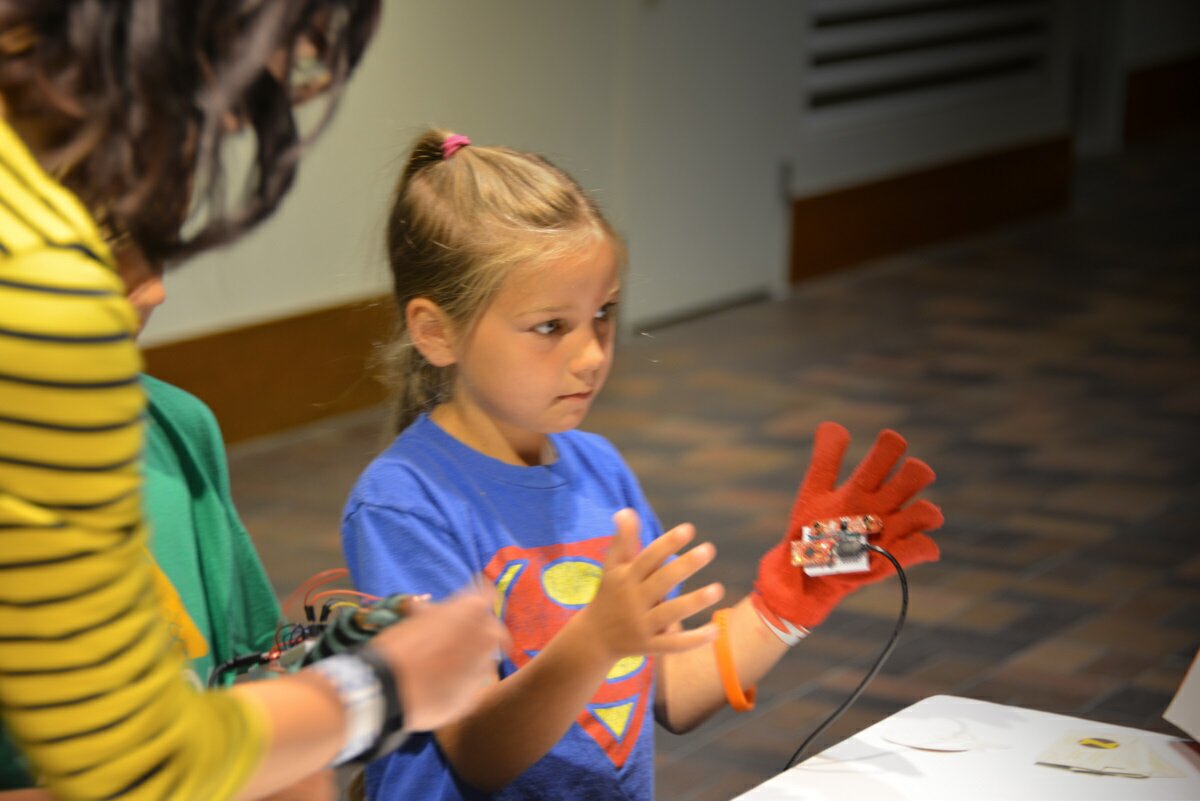
Zoe Doubleday’s Haptika series of therapy gloves were a hit —

DSC_7154 DSC_7184

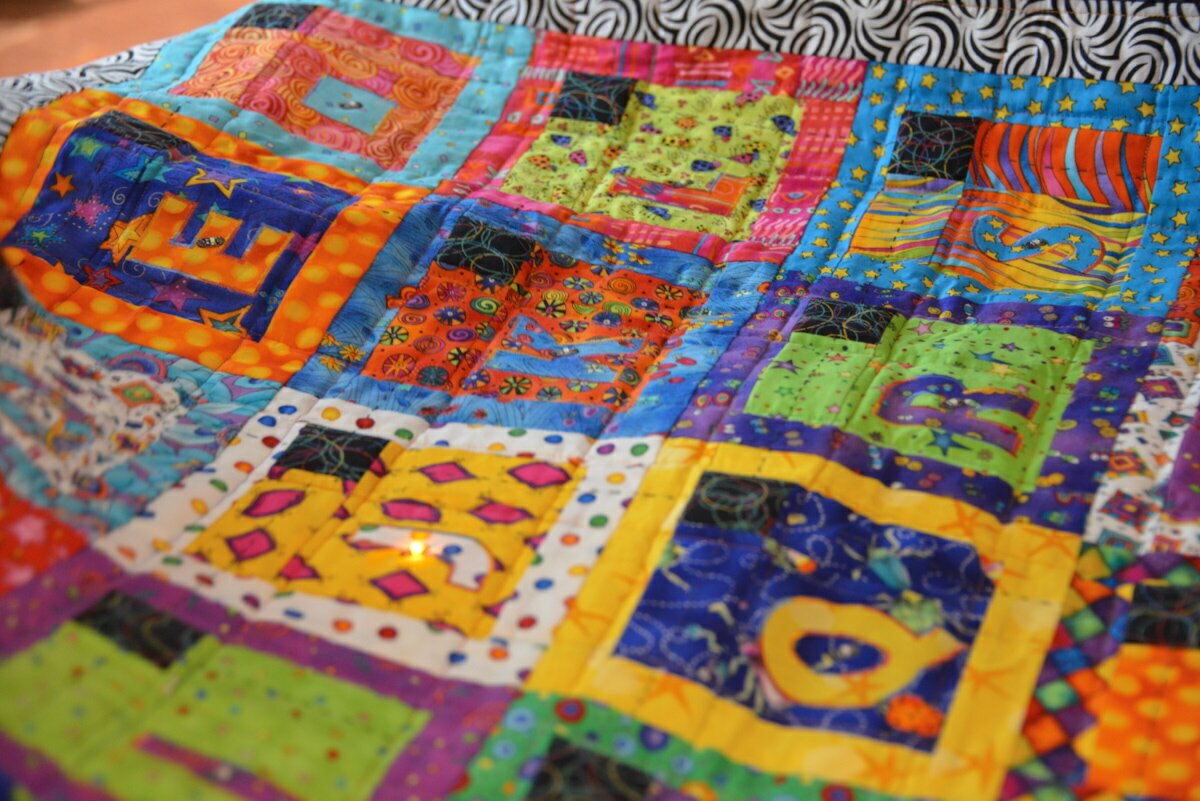
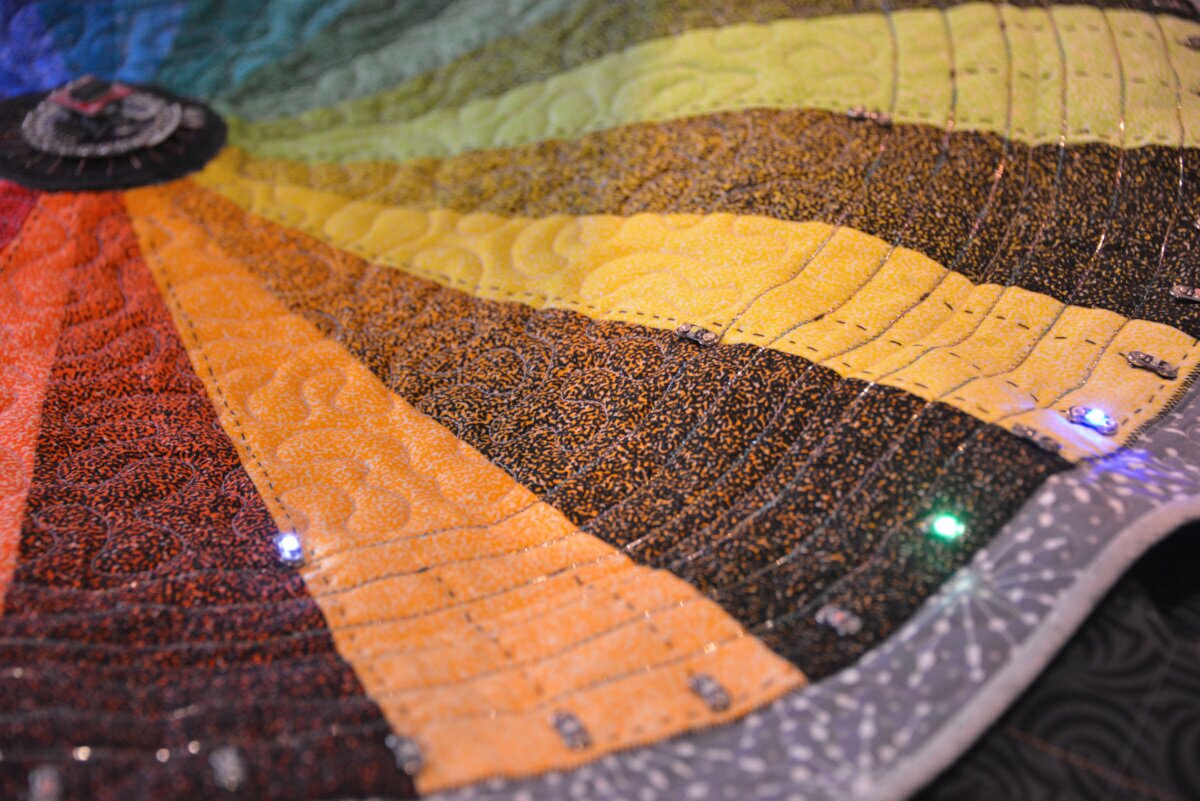
I didn’t get the guy who made these beautiful electronic quilts — he was one of many participants who also did amazing things:

DSC_7162 DSC_7169

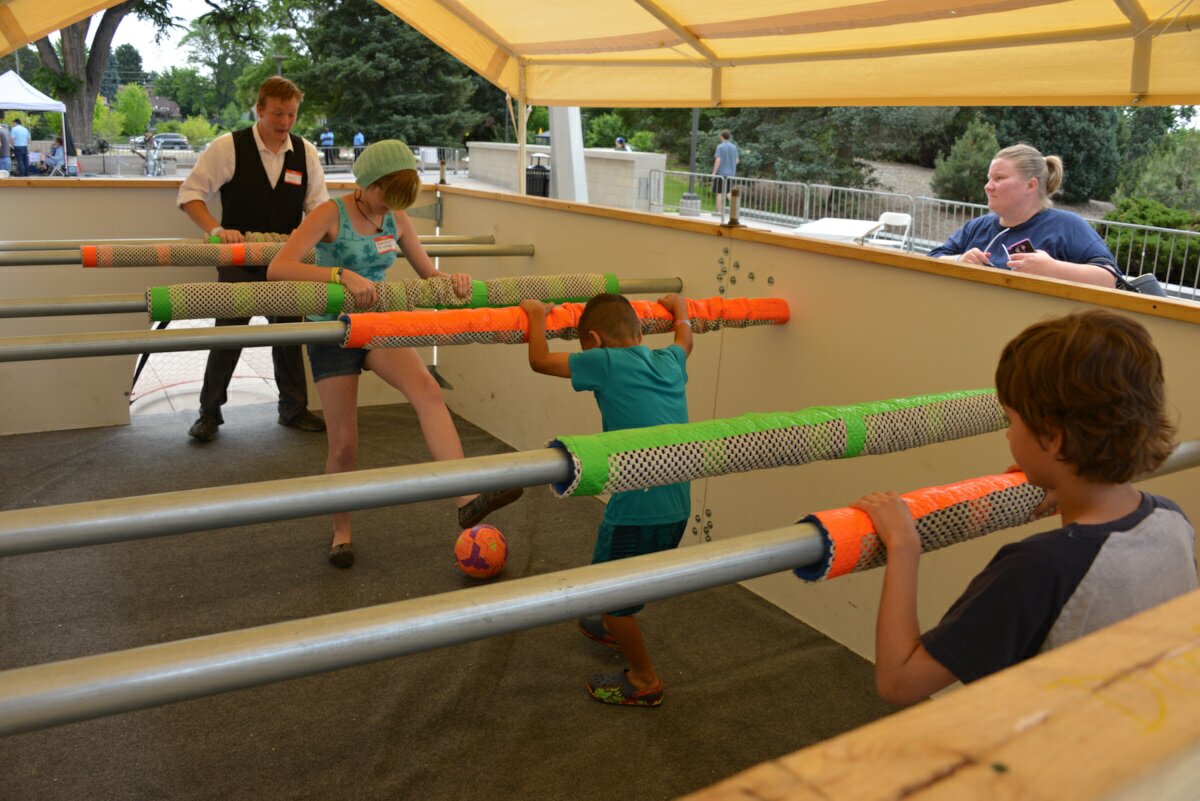
Human foosball, of course!

DSC_7175

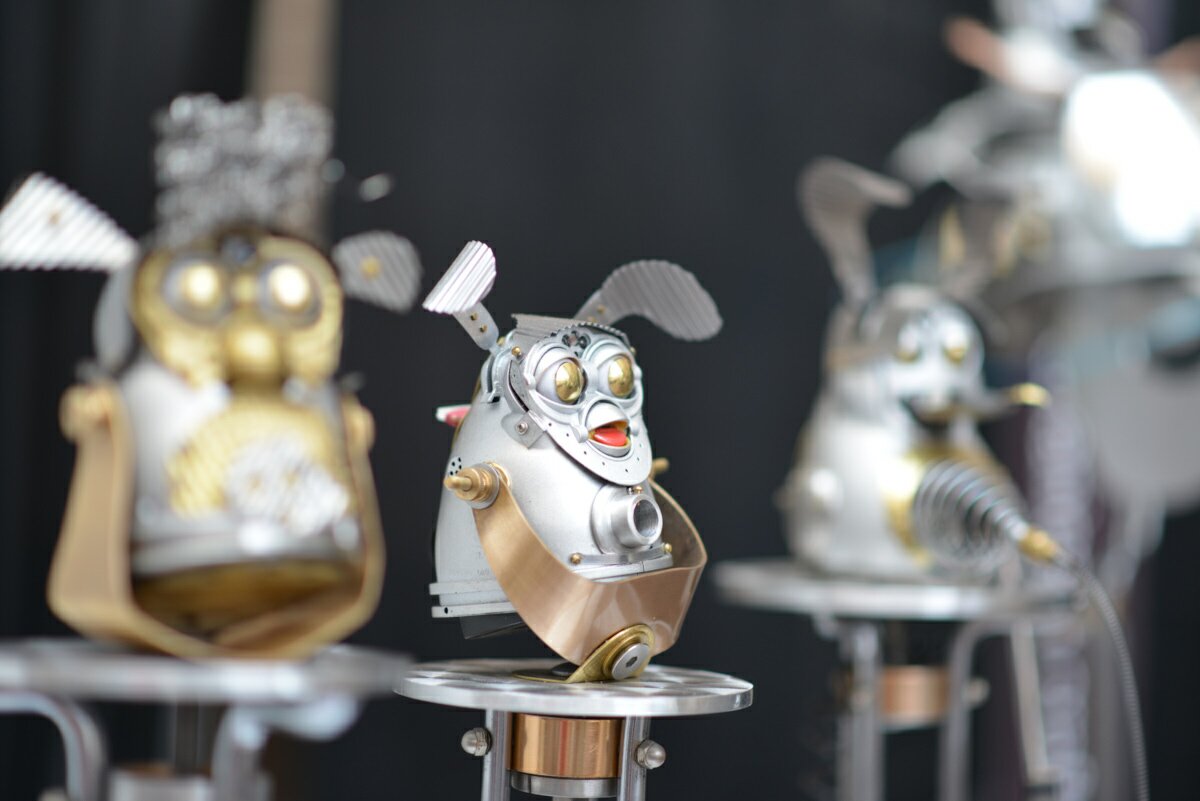
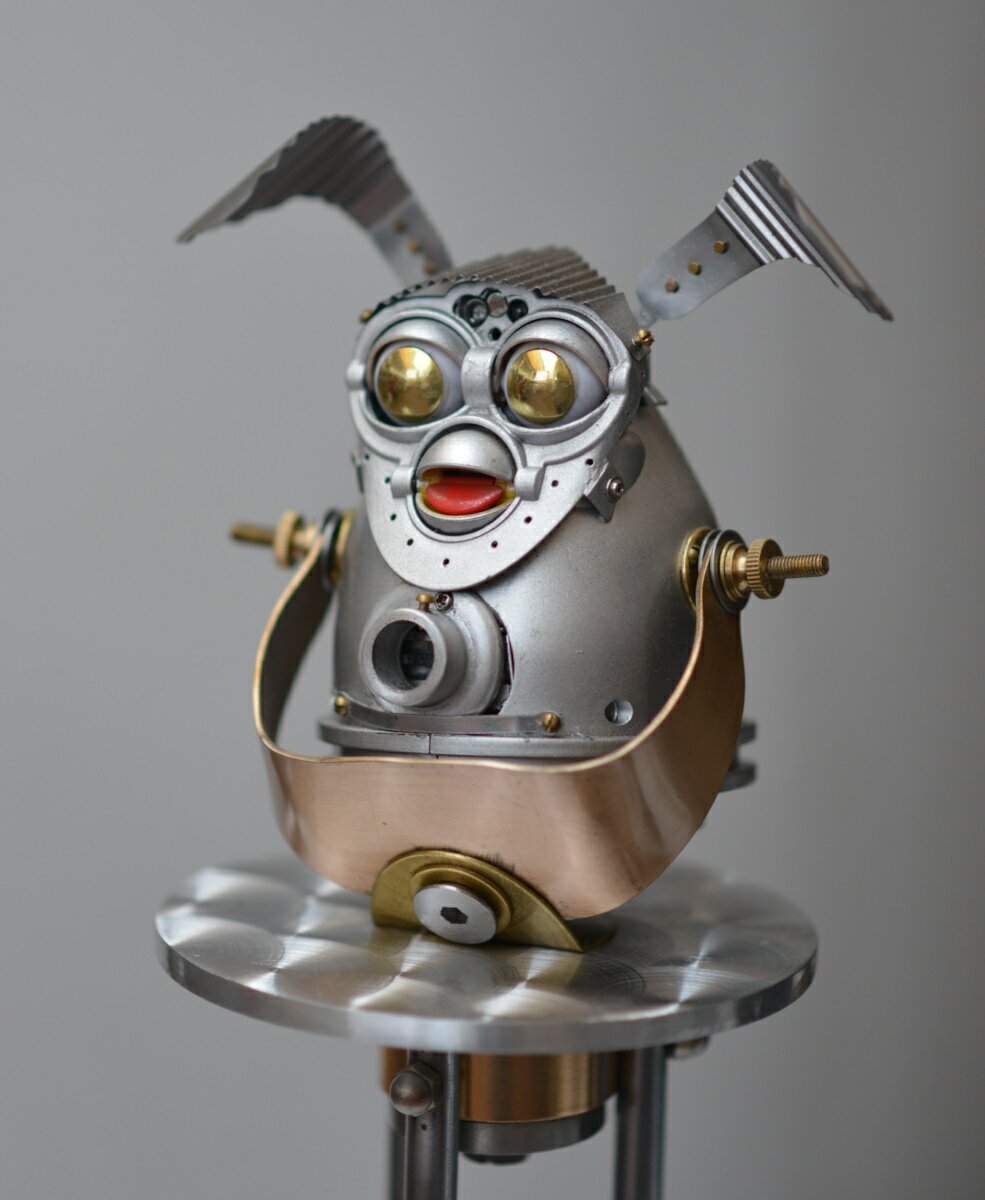
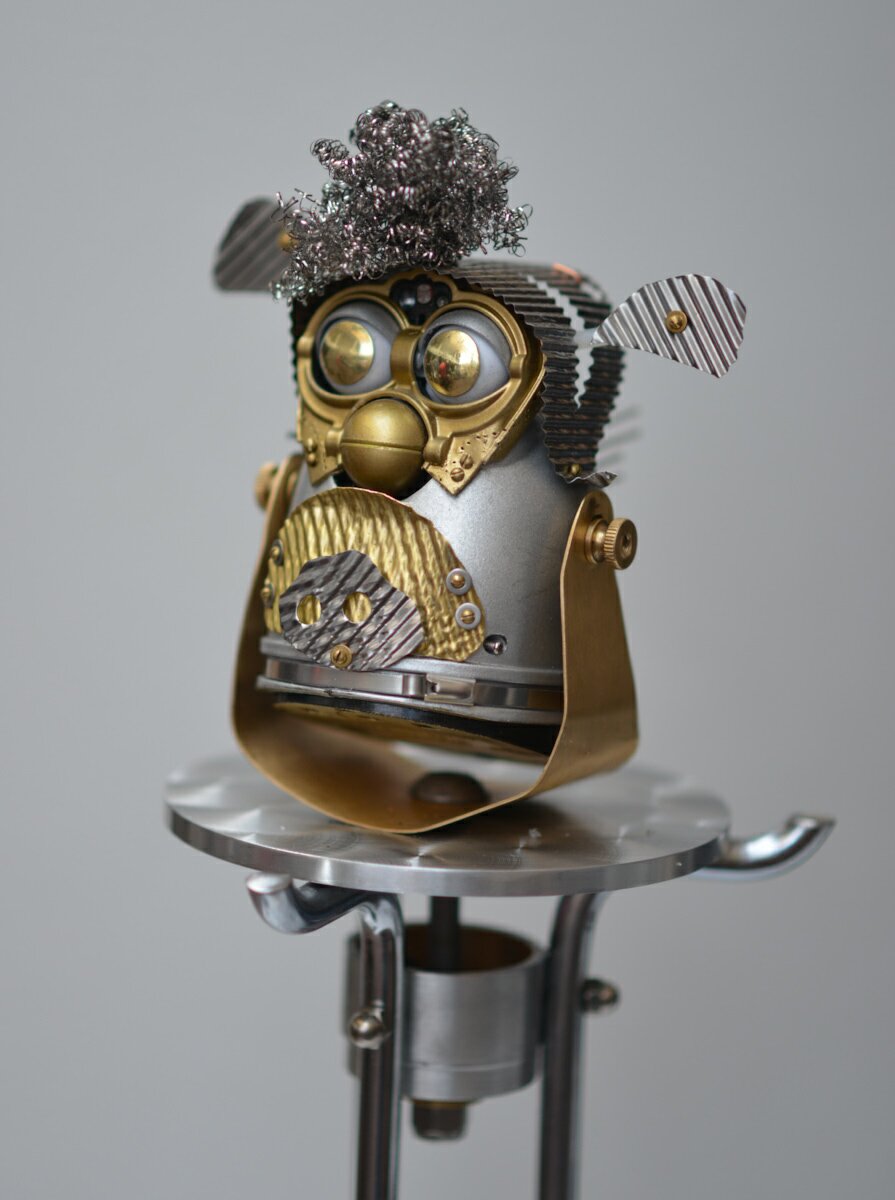
I fell in love with these hacked furby skeletons!

DSC_7194

DSC_7197 DSC_7198

Looking forward to future Mini Maker Faires!

LED tattoo

Sarah shows off her shiniest tattoo, made with temporary tattoo paper, copper foil, and circuit stickers.  She’s also experimenting with conductive ink instead of the foil.

LED tattoo

LED tattoo

New lights for the high bay

20160209_224909

The original fluorescent lights.


20160209_223652

Our new snazzy LED lights

Fluorescent lights suck.  Aside from the minor mercury toxicity hazard if they’re broken and the mediocre light quality, the bigger problem for us is getting up to the ceiling to replace them.  At 8′ long, they’re a bit ungainly when at the top of a ladder that is barely stabilized.  Needless to say, between the standard laziness, and the instinct of self-preservation, we haven’t changed many of the burnt out tubes since we moved into this space.  In fact, we are finally down to 6 lit tubes, so we were getting to the limit of barely usable light.

LED lights are cool.  That’s the basic premise of switching our lighting out in our high bay lately.  Of course, you’re going to get that response from a bunch of self-proclaimed LED freaks 😉  We were getting to the end of the life on the remaining fluorescent tubes, and had to do something.  One of our long time members, Dan Julio, offered up some of the control boards from one of his lighting projects.  These boards, combined with LED strips make up our new lights.  Some of the main features include:

  • dimmable –  this allows us to set the light level for meetups or for work
  • Zone control – with this feature, we can keep the work lights on while dimming or turning off the lights over the wall that the projector shines against.
  • Color wash on the ceiling – Otherwise known as “party mode”.  This gives us the ability to change the mood of the space.
  • Control via mobile or web portals.
  • Control via panel mounted on the wall.

Several members joined with Dan on a Saturday to finish up the marathon of work he had already put in.

Way to go Dan for designing and building out the system, and thanks to the SSD members who helped install it!

20160209_223943

Valentine’s Day Mode

20160209_224845

Party Mode!

Cleanup aftermath

Here are the pictures from the clean up..  This is the stuff that was not labeled and needs to be gone through or its out in a week.


This is the new member storage…I think everyone should be able to see there labeled storage containers.

20150801_171127 20150801_17113020150801_171121 20150801_171138 20150801_171145 20150801_171200 20150801_171210 20150801_171316


This is the stuff on the front burner to go out the  door..  Please make arrangements if you see your stuff here.

Reach out on the Google group and let someone know sooner rather than later.


20150801_171358 20150801_171407 20150801_171416


Thank you to everyone that helped and if you see your stuff and you still want it, again  please reach out to someone sooner than later.

Thanks,

Chrobi

We’re at Denver Mini Maker Faire! Drop by and say hi!

IMG_20150613_115751978

Members Jennifer, Ty and Brandon man the SSD booth at NoCo Maker Faire. Jennifer is demonstrating her A.R.F.F dog distraction device.


IMG_20150613_115757225

Here member Brandon is demonstrating Oobleck, the non-newtonian fluid on a speaker.

We have a booth at the NoCo Maker Faire, drop by and say hello!

We have several projects this faire: Cymatics, A.R.F.F (Automatic Release Fun Feeder), Mini Sound Puddle (Porta-Puddle!) and last but not least, OOBLECK! Be sure to come by and see these projects!

Member Project of the month: the Auto Release Fun Feeder (A.R.F.F.)

Anyone with a bored puppy will tell you, they can be a handful of trouble. Meet Olive, SSD member Jen F’s puppy. olive

Olive was getting bored in the middle of the day while Jen and her family were out of the home. Olive took to finding ways to entertain herself that was becoming a problem. Miscellaneous household items ended up in the back yard. To keep Olive busy during the day, Jen started hiding treat toys around the house. One of Olive’s favorite is an interactive toy that dispenses food as long as it gets flipped and rolled around.

dog_ball Check it out here: http://store.petsafe.net/busy-buddy-kibble-nibble This Busy Buddy engages dogs to work for their food, which appeals to their natural hunting instincts. Jen soon discovered that there were a limited number of hiding spots in her house. Olive would find the toys almost immediately after she hid them, defeating the purpose of working up a good boredom.

Being a mechanical engineer, Jen started thinking up ways to delay the release of the ball so that it would provide satisfaction for Olive in the middle of the work day. The solution needed to be simple. Gravity based; so that the release mechanism would only require a single solenoid. Outlet powered; so that batteries wouldn’t be a continual cost. Random timer; so that Olive wouldn’t get used to what time it was released. Quick and easy loading instructions; so that anyone could load and start without a 50 page manual.

first_construction

The prototype was put together with scrap lumber and eyeballing the gravity ramp. After an evening of mock-ups, Jen had a solid mechanical housing. Jen didn’t have much experience with electronics, however, she knew the hackerspace was a good resource for gurus. She met with John W., who had started working in a T.V. repair shop at the age of 10 in the 1960’s. He drew up a wiring diagram and pointed her in the direction of what she needed to get.

johnw john_e_working

After a week, the only thing she couldn’t find was the timer. At a Solid State Depot Open House, she introduced her project to the group and asked for help. Another SSD member, Mike S., had just received an LCD/Button combo Arduino shield and wanting to put it to work, this seemed like a good project. After a few hours of programming, he had a random countdown timer mounted on a Spark Fun Red Board.

One of the issues that the gurus at Solid State Depot helped her solve was the amount of power that was getting to the solenoid. Because the ball was pushing on the latch, there was a lot of friction. The solenoid needed a larger pulse. This meant more capacitors had to be added.

After a short time of collaborating, Jen had a timer that worked for releasing the ball at random times.

olive2

The Auto Release Feeding Frenzy, ARFF, for short has been in use for the last few weeks. Jen has noticed a significant decrease in the number of items ending up in the yard. Jen has had many requests to build more to test on other dogs, but feels she needs more time to evaluate if this solution is going to work long term.

Job well done, way to go Jen and Mike!


We are now a 501(c)3 organization!

SSD is now recognized by the IRS as a 501(c)3 tax-exempt organization! We are now able to take tax deductable donations!

Come see us at Boulder Mini-Maker-Faire!

We’re setup in the Boulder County Fair Grounds exhibit building. Come see us and say hello!

As always, the Cyclophone is a popular crowd pleaser.  Here member Rob B. demonstrates it to some faire participants.

IMG_0781


Our cymatics displays were popular.  However, further investigation needs to be done on driving the surface transducer that powers the plate: we burnt it out today.  🙁   Below is a picture of our cymatics replacement, oobleck.  However, we burnt out the speaker in this experiment too.  🙁 :(.  Twice in one day.  Ouch!


IMG_0786

Here I’m pouring the cornstarch and water mix into the bowl that’s glued to the face of the speaker.  Unfortunately, it just didn’t get up and dance like other examples.  More experimenting to come!

Friction welding with ABS filament

Hack-a-day had an article a short while ago about welding ABS parts together with a short length of ABS filament in the chuck of a dremel tool. The idea is to use the friction from the fast spinning filament to melt the plastic at the junction of the spinning filament and parts. You can find the article here. This reminded me of a toy plastic welding kit that a friend had given my kids. This set uses a battery operated drill-like unit that takes special formed sticks as the sacrificial weld material.  You would use it to weld together the plastic parts in the kit to form models.

Styrene welding kit.

Styrene welding kit.

I decided to try it out with some scrap flat ABS plastic and a length of ABS filament. I did as the article suggested, snipped off a small length and put it in the chuck of the dremel. As in the article, I used a short length of filament.  The curvature of it keeps it from being straight in any length, so shorter is easier to keep from flapping about as it spins.  Having experience with the styrene welding kit, I knew that you would need to finesse it and figure out the melting point of both the filament and the plastic being welded. I tried several techniques, but for a flat plate butt joint, the best was having the filament perpendicular to the plates being welded.


Friction welding with a dremel and ABS filament

Friction welding with a dremel and ABS filament

I was able to produce straight on tack welds with ease.  It was working down the seam that was challenging.


Friction welds between two plates

Friction welds between two plates


Flexing the two plates after being welded together.

Flexing the two plates after being welded together.

As you can see, the joined pieces can flex a fair bit without breaking the joint. This picture was after quite a bit of welding was done down the seam.  Early in the process, I was surprised that I didn’t need that many tack welds on both sides to get the two plates acting as one and not cracking apart with slight flexing.

Stressing the plates until they broke apart revealed the weld depth.

Stressing the plates until they broke apart revealed the weld depth.

Typically when you’re testing any method of joining materials, you will want to do a tear down test.  It took a bit of effort to crack it in half and tear it apart.  In the picture above, it can be seen that the weld nuggets tore out, leaving a divot in the plastic where the nugget was. This is a good sign when you’re welding, whether it’s plastic or metal: you always want to see the material tear away from the nugget, rather than the nugget splitting at the seam where it was to join the materials.

My conclusion: if you have a dremel, you can friction weld with filament fairly easily. The welds are strong and can be used to fix broken parts or join prints that couldn’t be printed in one piece. Considering it’s not a huge investment of time to get comfortable with the technique, it’s worth trying out and practising on some failed prints. You’ll get a feel for it, and it will cement it in your head that it’s a viable option other than glue.  However, if you’re looking for beautiful welds, this technique won’t produce them!

Boulder Hackerspace’s first ever video game tournament! (Super Smash Bros)

Last Weekend on November 15th 2014 the Boulder Hackerspace had its very first video game tournament. The games played were Super Smash Bros. Melee, Super Smash Bros. Project M and Super Smash Bros. for 3DS. There were 5 events in total, Melee singles, Melee doubles, Project M singles, Project M doubles and Smash 3DS singles.   Here are some pictures of the tournament as it was happening.Overview

Melee Friendlies

One fun thing about this particular series of games is that they are often played on old heavy CRT TVs instead of modern HDTVs. This is because Super Smash Bros Melee is such an old game that HDTVs lag compared to CRT tvs. The lag is only fractions of a second, but is noticeable and distracting when playing a fast-paced fighting game.

Project M and Melee Pools

All of the big CRT TVs you see in these pictures were brought to the Boulder Hackerspace by the participants just for this tournament. And here’s a video of grand finals for Project M singles

CRM